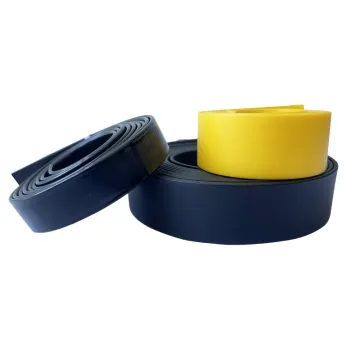
Large dog leash construction and sourcing
For a large-dog product, specify the assembly test and connection design. A stronger tape does not compensate for an unsuitable clip or seam.
Content updated
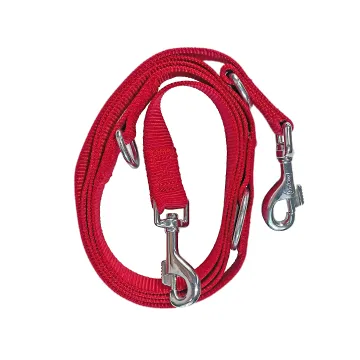
In this guide
Key choices for your project
A wide or thick tape alone does not establish the capability of the leash. Define the intended use and assess the clip, swivel, stitches and handle as one assembly. Ask where the tested sample failed and whether its construction matches the proposed order.
- Whole-assembly test plan
- Failure point in the sample
- Match between tested and ordered build
Does the swivel load the webbing edge during direction changes?
Move the complete clip joint through the directions expected in use while applying the buyer's representative test loading. Watch whether the swivel eye centres the folded tape or pushes force into one edge and the nearest stitch row. Record joint orientation with the result; a straight pull can miss this local damage path.
- Tape centring in the swivel eye at each direction
- Edge and stitch condition after directional loading
When a robust tape still produces a weak leash joint
Imagine a leash built with a substantial tape that looks stable in a straight pull. During a change of direction, however, the swivel eye pushes the folded tape to one side, the nearest stitch row begins to move and the handle return opens slightly. Choosing a heavier tape could increase fold bulk without correcting either joint.
Trace the load path through clip, fold, seam, tape and handle. If damage starts beside the swivel, revise eye clearance, fold alignment or seam position; if the handle changes first, examine its return geometry separately. Treat observations as project evidence, not a universal safe-load rating.
The relevant purchasing unit is the tested complete construction, including hardware and both joints.
Products to start with
Open a product to see its listed specification. Custom colours, dimensions and order terms are confirmed for your project.

More product photos
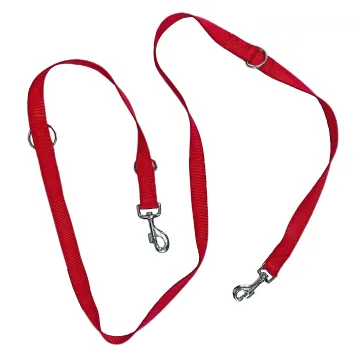
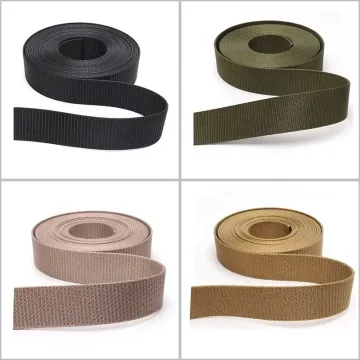
What damage appears before the assembly reaches its endpoint?
Inspect at planned intervals during the buyer-defined cyclic or pull test instead of recording only the final value. Photograph stitch movement, yarn cutting, fold opening, hardware deformation and permanent length change. These observations help distinguish a gradual warning from a sudden joint failure without assigning a universal safe load.
- First visible change and the interval when it appears
- Failure location across tape, seam and hardware
Control the complete leash construction
The record should let a buyer reproduce the exact assembly that was reviewed and distinguish material data from finished-product evidence.
Swipe to see all columns ↔
| Field | What to record | How to confirm |
|---|---|---|
| Intended use case | Product size range, handling context and buyer-defined representative loading | Link the requirement to the product brief |
| Clip and swivel | Part reference, eye dimensions, articulation and finish | Inspect the actual hardware in every planned direction |
| Tape construction | Fibre, weave, width, thickness, face and edge finish | Identify the production-intent roll or sample lot |
| Clip joint | Fold direction, overlap, seam layout and clearance from the eye | Approve a sectioned drawing and completed joint |
| Handle joint | Loop opening, fold stack, padding if used and seam position | Measure and photograph the finished handle |
| Assembly evidence | Loading direction, cycle or pull method, inspection points and failure mode | Test by the buyer-approved method and retain the sample |
Any load values or acceptance limits must come from the buyer’s design and validation process; tape data alone does not set product capacity.
Download specification worksheet ↓Follow the load path before changing materials
Draw both joints at full stack
Show tape layers, hardware eyes, seam rows and handle return in section. The output identifies where force changes direction and where edges can be loaded.
Build matched complete samples
Use the proposed tape, hardware, thread and end treatment in both clip and handle joints. Label every specimen so later damage remains traceable.
Apply directional and repeated movement
Move the clip through the project-relevant directions during the agreed loading sequence. Pause at planned intervals to photograph alignment, stitch movement and hardware deformation.
Open and classify the result
Compare tape yarns, folds, seams, clip and handle after the trial. Record the first change and decide which component or geometry needs another iteration.
Assumptions that overstate leash capability
Turning tape strength into a leash rating
A bare-material result omits clip, folds, stitches and handle. Use it for material comparison, then validate the complete product separately.
Testing only one straight direction
A swivel can push load into one tape edge while turning. Include the directions and joint articulation relevant to the intended product.
Substituting similar-looking hardware
A different eye radius, opening or finish changes fold seating and wear. Treat every hardware substitution as a new assembly review.
Questions before you choose
Does wider or thicker webbing automatically make a leash suitable for a large dog?
No. Width and thickness affect handling, but the snap, stitching, folds and material construction can still govern failure. Define product requirements for the intended dog and use, then assess the complete leash rather than assuming size alone provides safety.
Which joint is most critical in a large-dog leash?
The snap attachment and handle return deserve close review because they combine folds, holes or concentrated stitching with repeated movement. Map the load path, specify overlap and stitch layout, then test and inspect the complete joints for slip, yarn damage and deformation.
Tell us what you are making
You can enquire before every detail is settled. Tell us the intended use and what you need help choosing; add dimensions or quantities if you know them.
What happens after your enquiry
We review the intended use and open specification questions first. Sample options, costs, minimum quantities and timing can then be discussed against that brief. Sending an enquiry does not place an order.
Request a relevant sample →