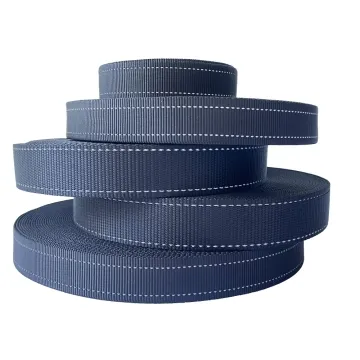
Webbing for hands-free dog leash development
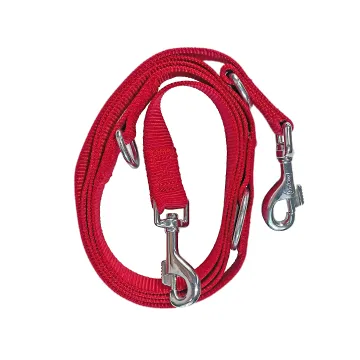
A hands-free leash connects a dog-side lead to a body-worn belt or other attachment. Define those parts separately so adjustment, hardware placement and webbing selection can be evaluated as one assembly.
Content updated
In this guide
Key choices for your project
Send the proposed routing, adjustment limits and connector drawing before choosing a belt width. Identify which parts slide and which remain fixed. If an elastic section is planned, specify its position and required extension separately; the base webbing does not establish the behaviour of the complete leash.
- Separate belt and lead specifications
- Adjustment range and connector positions
- Complete assembly review under defined loads
Show the load path on the drawing
Mark each attachment and every change of direction. A connector that rotates or travels along a belt can change where folds and seams sit. Build the sample with the intended hardware and inspect it at both ends of the adjustment range, including whether loose ends obstruct a connector or moving loop.
A moving connector can collide with the belt adjustment
Imagine a dog-side lead that works well alone. On the worn belt, its sliding connector hits the sewn return at the shortest setting. The loose end enters its path, while elastic recovery rotates the lead hardware.
Draw belt and lead as separate sections in minimum, reference and maximum settings. Mark fixed, sliding, rotating and elastic parts, including every seam and loose end. Build the complete routing with intended hardware. Operate adjustment and representative body movement under buyer-defined conditions, observing connector travel, twists, contact, extension recovery and interference before inspecting each transition.
Approve the belt, lead, elastic section and connectors as one routed assembly across all adjustment states, while keeping each section’s specification separate.
Products to start with
Open a product to see its listed specification. Custom colours, dimensions and order terms are confirmed for your project.
More product photos
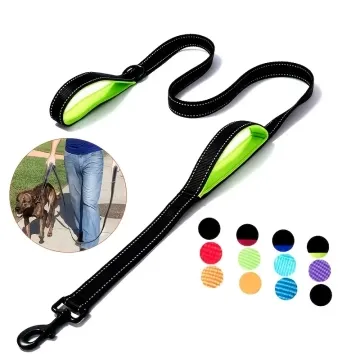
Keep material changes visible in sampling
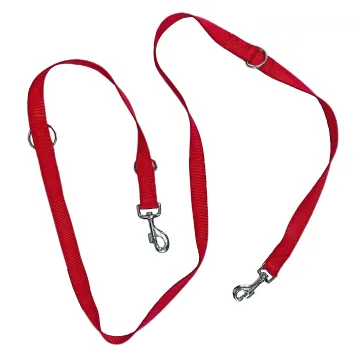
Changing a soft belt to a stiffer construction may improve threading yet alter folding and contact feel. Compare samples with the same hardware and routing, recording finished thickness, edge feel and adjustment drift. Let the finished-product developer define performance and use requirements before approving a production construction.
Define each section and every moving interface
The brief should separate body-worn, lead and elastic duties while showing how the complete route operates.
Swipe to see all columns ↔
| Field | What to record | How to confirm |
|---|---|---|
| Body-worn section | Wear position, adjustment range, webbing width, thickness, edge, contact face and loose-end control | Fit the completed belt through all settings |
| Dog-side lead | Length range, routing, webbing construction, handle or terminal and ground-clearance concern | Lay out the complete lead |
| Connectors | Part models, fixed or sliding location, rotation, entry angle and neighbouring seams | Operate production hardware in the route |
| Elastic section | Position, relaxed length, buyer-defined extension and recovery, covering and end joints | Measure the assembled section |
| Transition zones | Material change, overlap, fold, stitch layout, bulk and permitted movement | Build each production transition |
| Assembly states | Minimum, reference and maximum settings, representative movement and inspection points | Record the complete sequence |
The buyer defines loads, movement, animal and wearer conditions, and acceptance. Individual webbing data do not establish complete-leash performance.
Download specification worksheet ↓Route and operate the complete hands-free system
Map all adjustment states
Draw belt and lead at minimum, reference and maximum settings, marking every fixed, sliding, rotating, elastic and loose-end position.
Build the intended route
Assemble each webbing construction, connector, return, seam, elastic joint and end control while preserving face and direction.
Adjust during movement
Operate the assembly through representative body movement and agreed loading, observing connector travel, twisting, belt contact and loose-end interference.
Inspect transitions and recovery
Return the system to rest, measure elastic recovery where applicable and examine seams, folds, hardware contact and material-change zones.
Shortcuts that hide routing conflicts
Using one tape specification everywhere
Belt contact, lead routing and elastic transitions impose different duties. Approve each section within the common assembly.
Treating elasticity as shock control
Extension alone does not define recovery, joints or connector motion. Specify the elastic section separately and evaluate the full route.
Checking only a static straight layout
Movement changes connector angle, loose-end position and seam contact. Operate minimum and maximum settings under representative conditions.
Questions before you choose
Can the waist belt and lead use identical webbing?
They can be sampled that way, but need separate approval. The belt has different folding, adjustment and contact requirements from the lead. A common colour does not require identical width, thickness or construction.
Does elastic webbing replace a separate shock-absorbing section?
Not automatically. Extension, recovery and the behaviour of sewn joints need a defined specification and assembly evaluation. Send the intended elastic-section drawing and requirements so its feasibility can be assessed separately from the main webbing.
Tell us what you are making
You can enquire before every detail is settled. Tell us the intended use and what you need help choosing; add dimensions or quantities if you know them.
What happens after your enquiry
We review the intended use and open specification questions first. Sample options, costs, minimum quantities and timing can then be discussed against that brief. Sending an enquiry does not place an order.
Request a relevant sample →