Binding tape for bags and backpacks
Binding width must cover the seam stack after folding. Send the thickest seam intersection and tightest corner so the tape can be tested on the difficult areas first.
Content updated
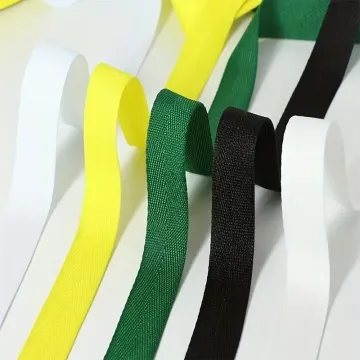
In this guide
Key choices for your project
Start with the thickest seam and tightest corner in the bag. Flat binding width must cover that stack after folding and leave room for a secure stitch line. Ask for a trial through the intended binder attachment rather than approving tape from a hand-folded sample only.
- Coverage over the maximum seam stack
- Compatibility with the binder
- Stitch capture on both faces
Will one binding feed setting handle every seam transition?
Map where a binder moves from a single panel to foam, lining or crossed seams. Run one continuous trial through those transitions at production speed and note where the tape walks off-centre or the underside misses the stitch. The difficult change in thickness, not the straight section, should govern machine setup.
- Binding position before and after each thickness change
- Stitch capture on the unseen underside
The difficult seam transition should set the binding trial
Imagine a backpack binding that looks centred along a single flat panel. At a foam-and-webbing intersection, the seam stack rises abruptly, the binder shifts the tape outward and the stitch misses the hidden underside. Around the next tight curve, the outer fold wrinkles. The straight sample approved neither condition.
Map the complete edge route and identify its thickest transition, smallest radius and any permitted tape join. Run the proposed binding through the intended attachment on those real material stacks, then inspect coverage and stitch capture on both faces before fixing width or machine settings.
Approve binding at the hardest thickness change and curve, using the actual seam stack and binder.
Products to start with
Open a product to see its listed specification. Custom colours, dimensions and order terms are confirmed for your project.
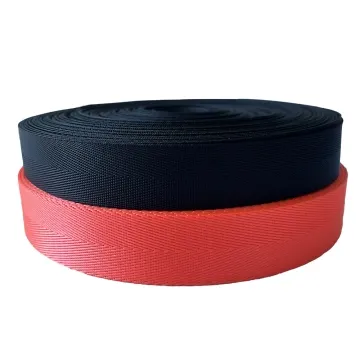
More product photos
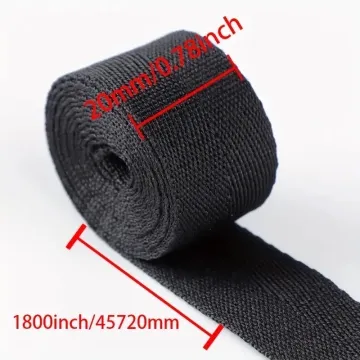
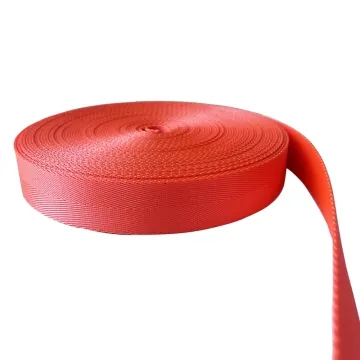
Does the binding join create an acceptable visible step?
If rolls or pre-cut lengths need joining, define where that join may appear and how its ends overlap. Make the joint on the actual bag edge, then flex and view both faces. A neat flat swatch can still create a hard step, extra width or a colour break after folding.
- Permitted join locations on the finished bag
- Folded joint thickness and colour continuity
Describe the tape, edge route and feeding system together
A useful binding specification connects finished tape dimensions to the folded production seam.
Swipe to see all columns ↔
| Field | What to record | How to confirm |
|---|---|---|
| Finished tape | Width, thickness, face, edge, finish and roll direction | Measure relaxed material from the proposed construction |
| Seam-stack range | Layer range, foam, reinforcement and seam allowances | Make labelled cross-sections at critical transitions |
| Edge geometry | Straight runs, inside/outside curves, corners and start point | Mark radii and sequence on the pattern |
| Feeding setup | Binder, size, machine, foot and production direction | Identify the sewn-trial setup |
| Stitch capture | Coverage and stitch position on visible and hidden faces | Open and inspect samples before and after each transition |
| Join and finish | Permitted join locations, overlap, cut edge and end treatment | Build the joint on the actual layered edge |
Flat tape width cannot predict folded coverage when seam stack or feed geometry changes.
Download specification worksheet ↓Prove the binding along the real edge route
Map the difficult zones
Mark every thickness change, curve, corner and join on the pattern. Select a trial piece that includes them in production order.
Set tape and binder together
Thread the proposed finished tape through the intended attachment without hand pre-folding. Record folder, machine, foot and direction used for the trial.
Sew continuous transitions
Run from the thinnest zone through the maximum stack and tightest curve. Avoid resetting the tape between zones unless production will do so.
Inspect and freeze the setup
Check both faces for coverage, stitch capture, wrinkles, steps and colour breaks. Retain the sewn route with tape identity and approved machine setup.
Trials that make binding look easier than production
Measuring one fabric layer
The binder must wrap the complete seam allowance, foam and reinforcement. Measure the thickest assembled section rather than adding nominal material data.
Approving a hand-folded swatch
Hand folding bypasses feed tension and folder clearance. A tape that looks neat by hand can wander or pucker through the production attachment.
Changing machine tension first
Wrinkles or missed edges may come from width, stiffness, radius or stack change. Locate the failure before using tension to mask a geometry mismatch.
Questions before you choose
How do I choose binding tape for thick backpack seams?
Measure the complete seam stack, not a single fabric layer. Select enough width to wrap the edge and leave stable sewing capture on both sides. Trial the thickest junction and tightest curve, checking feed, puckering, missed edges and bulk at overlaps.
Why does bag binding wrinkle around curves?
The tape may be too stiff, too narrow, stretched unevenly or poorly matched to the curve radius. Sew the actual layered panel without pulling the binding. Compare weave and width options, then inspect inner and outer curve edges before changing machine tension alone.
Tell us what you are making
You can enquire before every detail is settled. Tell us the intended use and what you need help choosing; add dimensions or quantities if you know them.
What happens after your enquiry
We review the intended use and open specification questions first. Sample options, costs, minimum quantities and timing can then be discussed against that brief. Sending an enquiry does not place an order.
Request a relevant sample →
