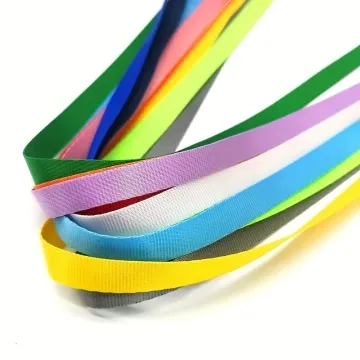
Webbing for backpack shoulder straps
A padded backpack shoulder strap may use three different tapes: an exposed adjustment tail, a narrow edge binding and a hidden reinforcement at the load anchor.
Content updated

In this guide
Key choices for your project
Do not issue one generic ‘backpack webbing’ specification. Give the adjustment, binding and reinforcement parts separate BOM lines, drawings and approval samples. Check adjuster movement on the exposed tail, foldability around the foam edge, and stitch penetration through the reinforcement stack. Then control left and right orientation as paired parts.
- Separate BOM line for each function
- Actual foam, buckle and seam stack
- Paired left-right direction and length control
Match each tape to its job in the assembly
The adjustment tail needs stable width and a surface that works with the ladder lock. Binding must turn around the padded edge without puckering or creating a hard ridge. Reinforcement transfers load from the tail into the shoulder panel and must fit the sewing zone. Using one thick webbing everywhere may make the edge bulky while still leaving a short, poorly anchored load path.
- Adjustment tail and buckle fit
- Binding around the foam radius
- Reinforcement overlap into the panel
One shoulder strap can contain three different tape jobs
Imagine a padded backpack strap built with one firm webbing for the adjustment tail, curved edge binding and hidden top-anchor reinforcement. The tail tracks well through its buckle, yet the binding wrinkles around the foam and the square reinforcement end creates a ridge under the wearer’s shoulder. Calling every piece “backpack webbing” conceals those conflicts.
Separate the parts by function, then draw the material cross-section where each starts, folds or overlaps. Compare left and right completed straps with the actual foam, panel, hardware and seam pattern before combining any BOM lines.
Specify adjustment, binding and reinforcement as separate component decisions, even when they share colour or fibre.
Products to start with
Open a product to see its listed specification. Custom colours, dimensions and order terms are confirmed for your project.
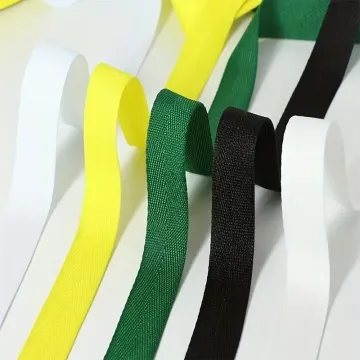
More product photos
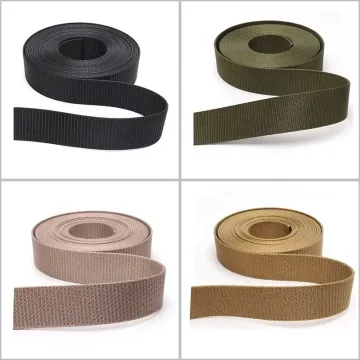
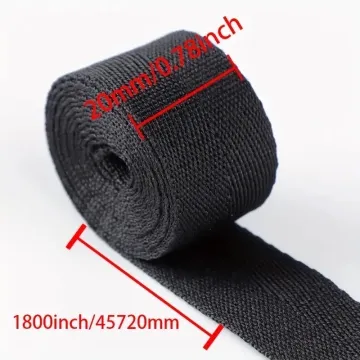
Resolve thickness changes before the sewing line
Draw a cross-section at the buckle end, padded body and top anchor, listing every material layer. Where reinforcement starts abruptly under foam or binding, the presser foot can tilt and the finished strap can show a step. A useful prototype compares a tapered reinforcement end with a square end using the intended machine, needle, thread and seam pattern. The buyer should test the complete pack under its defined load programme.
- Layer count at each seam zone
- Tapered versus abrupt reinforcement end
- Production-intent machine and stitch pattern
Give each tape a distinct BOM record
The component record should connect function, finished section, surrounding layers and orientation.
Swipe to see all columns ↔
| Field | What to record | How to confirm |
|---|---|---|
| Component role | Adjustment tail, binding, reinforcement or another defined job | Assign a BOM line and drawing callout |
| Finished section | Width, thickness, face, edge and finish for that role | Measure retained tape from proposed lot |
| Assembly stack | Foam, shell, lining, folds and reinforcement overlap by zone | Draw buckle, body and top-anchor cross-sections |
| Interface | Buckle, curve radius, seam pattern, needle and thread | Build with production-intent parts and equipment |
| Direction and pair | Webbing face, logo, tail angle, left or right identity | Compare a labelled pair against the assembly drawing |
| Approval state | Adjustment, edge appearance, sewability and defined load programme | Record results separately for each component role |
A shared width or colour does not show that one construction can perform every role.
Download specification worksheet ↓Resolve the assembly by zone
Explode the component map
Number every tape piece on the strap and state its job. Link each number to a BOM line instead of using one generic material note.
Draw critical cross-sections
Show all layers where the buckle attaches, binding turns and reinforcement ends. Mark abrupt thickness changes before they reach the sewing line.
Build a labelled pair
Make left and right straps with intended foam, faces, hardware and seams. Check buckle travel, curved-edge lay, layer penetration and visible symmetry.
Freeze role-specific references
Retain swatches, cross-sections and completed paired samples. Record any approved taper or orientation so purchasing cannot substitute one tape for another by appearance.
Simplifications that create late assembly problems
Using one specification for every piece
Buckle grip, curve conformity and load transfer demand different behaviour. Approve each role first, then combine materials only if the completed assembly supports it.
Inspecting only the outer face
A neat exterior can hide missed binding stitches, a hard reinforcement step or poor layer penetration. Open sections and inspect both faces and seam stack.
Ignoring left-right orientation
Mirrored parts can reverse the weave face, logo, buckle threading or anchor overlap. Label pairs and measure them from the same fixed reference points.
Questions before you choose
Can the adjustment webbing also bind the padded edge?
Sometimes, but only if it folds cleanly around the edge and the added bulk remains sewable. A firm tape that grips a buckle well can pucker at a curve. Prototype both functions before combining BOM lines merely to reduce material count.
Why mark left and right shoulder-strap components?
The webbing face, buckle threading, logo direction, tail angle and anchor overlap may be mirrored. Pair identification prevents two identical sides from reaching assembly and helps inspectors compare finished length from the same reference points.
Tell us what you are making
You can enquire before every detail is settled. Tell us the intended use and what you need help choosing; add dimensions or quantities if you know them.
What happens after your enquiry
We review the intended use and open specification questions first. Sample options, costs, minimum quantities and timing can then be discussed against that brief. Sending an enquiry does not place an order.
Request a relevant sample →