Webbing for backpack adjusters
Backpack adjustment needs smooth travel and reliable holding. Test both with the intended ladder lock, including a folded or stitched end that must pass through it.
Content updated

In this guide
Key choices for your project
Try the full adjustment range, including a lightly loaded pack and the intended carrying load. Mark the tape beside the buckle to measure creeping. Check that the loose tail remains easy to pull with the end treatment used in production.
- Creep marked beside the buckle
- Tail grip after finishing
- Adjustment across the full range
Align the strap with the loaded buckle angle
Fit the ladder lock to a loaded backpack mock-up and draw the actual line from anchor to buckle. If the tape approaches diagonally, it can ride against one bar end even when the loose bench test looks centred. Correct the anchor or buckle orientation before asking a different tape to compensate for the geometry.
- Loaded strap line from anchor to buckle
- Edge contact at both ends of the buckle bars
When easy adjustment and secure holding compete
Imagine a daypack whose loose strap sample moves smoothly through the selected ladder lock. Once the buckle is sewn onto the padded bag, the tape enters at an angle, the finished pull end catches during tightening, and the marked position shifts while the loaded pack is handled.
Compare the same finished tape in the intended hardware and assembled route. If one edge rides a bar end, correct the anchor or buckle orientation first. If the tape stays centred but creeps or jams, compare weave, thickness and finish as a matched tape-and-hardware decision.
Approve adjustment effort and position holding separately on the completed strap path.
Products to start with
Open a product to see its listed specification. Custom colours, dimensions and order terms are confirmed for your project.
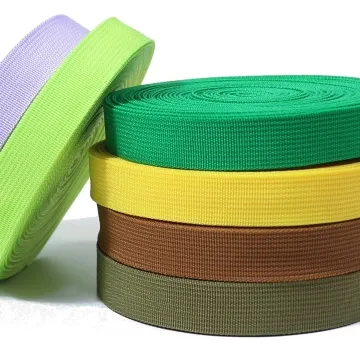
More product photos
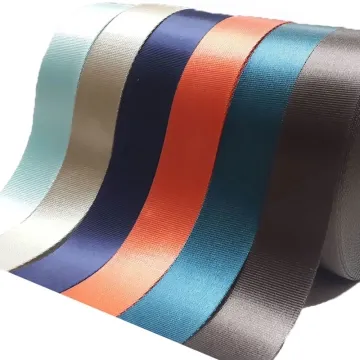
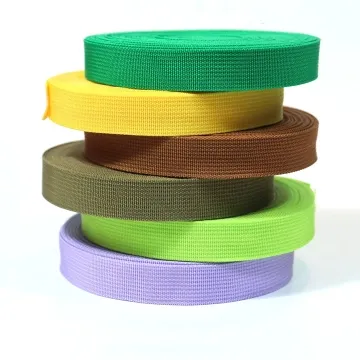
Separate quick adjustment from holding assessment
Use one sequence to judge deliberate pulling and another to observe position while the pack is handled. Mark the tape at the buckle before each sequence and record movement separately. This distinguishes a strap that is simply firm to adjust from one that changes position without an intentional pull.
- Pull effort during deliberate adjustment
- Position change during handling without adjustment
Record the interface, not only the tape size
A useful specification links finished webbing to the exact adjuster, route and user action.
Swipe to see all columns ↔
| Field | What to record | How to confirm |
|---|---|---|
| Adjuster identity | Model or drawing, material, slot and bar layout | Measure actual part; retain labelled sample |
| Finished tape section | Width, thickness, weave face and edge profile after finishing | Measure proposed tape relaxed |
| Routing geometry | Anchor position, threading path, approach angle and layer count | Mark route on assembly drawing |
| Adjustment states | Loose, worn and project-defined loaded conditions | Separate pulling from handling |
| Free-tail finish | Exposed length, fold, stitch, cap or other end treatment | Pass production end through required openings |
| Contact conditions | Padding, binding, clothing contact, moisture and cleaning relevant to use | Repeat agreed checks with full stack |
Holding acceptance and pull effort are project-defined; a nominal buckle width alone does not establish fit.
Download specification worksheet ↓Approve the adjuster as an assembled system
Fix the hardware and route
Identify the adjuster and draw the loaded line from sewn anchor to buckle. Record any diagonal entry, bar-end contact or nearby seam interference.
Build the finished strap
Use the proposed weave, finish, folded layers and pull-end treatment. Include padding and binding that can change the working angle or available clearance.
Separate pull from hold
Mark the tape beside the buckle. Record deliberate adjustment effort first, then observe movement during project-defined handling without touching the free tail.
Freeze the matched references
Keep the approved hardware sample, finished tape swatch, threading image and assembly drawing together so reorders reproduce the evaluated interface rather than a name alone.
Mistakes that hide the real cause
Testing only on the bench
A loose, straight strap can look centred while the sewn pack feeds it diagonally. Repeat the check with padding, anchors and intended handling in place.
Matching nominal width only
Two tapes with the same stated width can differ in thickness, edge shape and compression. Confirm the finished section against the actual slot and bars.
Solving creep with extra bulk
A rougher or thicker tape may hold better yet become difficult to pull or trap the finished end. Recheck adjustment, holding and clearance together.
Questions before you choose
How do I choose webbing that will not slip through a backpack adjuster?
Match finished width and thickness to the actual adjuster, then test the weave and surface under load. A tape that feeds smoothly may not hold firmly. Cycle adjustment with the intended layer count and inspect slip, edge rubbing and damage at the bar.
Why is backpack webbing difficult to pull through the buckle?
The tape may be too thick, too wide, stiff at the folded return or rough against the buckle path. Check the narrowest opening and total layers. Compare dry, damp and loaded adjustment before changing to a thinner tape that could create new holding problems.
Tell us what you are making
You can enquire before every detail is settled. Tell us the intended use and what you need help choosing; add dimensions or quantities if you know them.
What happens after your enquiry
We review the intended use and open specification questions first. Sample options, costs, minimum quantities and timing can then be discussed against that brief. Sending an enquiry does not place an order.
Request a relevant sample →