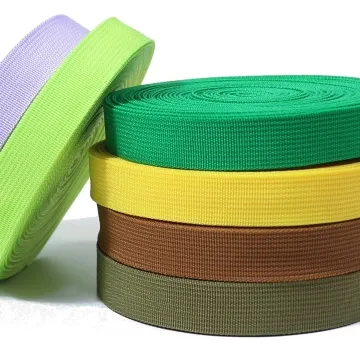
Custom camera strap webbing
Camera straps combine a broad contact area with narrow attachment points. Check the transition, stitching and buckle stack without assuming the webbing alone defines the assembly strength.
Content updated

In this guide
Key choices for your project
Treat the camera connection as a separate part of the specification. A comfortable wide strap may still need a narrow connector, leather tab or other attachment. Confirm how these parts join and test the complete assembly with the intended equipment.
- Connector dimensions
- Joint between wide strap and connector
- Surface against the neck
Will the strap face stay oriented through every transition?
A patterned shoulder section can rotate when it narrows into a connector or passes a swivel. Mark the intended face on the cutting and sewing drawings, assemble both ends, and hang the camera-shaped test mass. Check whether either transition introduces a half-twist before approving artwork direction.
- Face direction at both connector joints
- Twist after the strap hangs freely
The comfortable centre can fail at the narrow transition
Imagine a broad camera strap that feels comfortable on the shoulder. When the camera hangs freely, one narrow connector rotates at the transition, turning the decorated face inward and pulling the seam ridge against the neck. The wide tape is not the source of the symptom, so changing its softness alone will not correct it.
Build both ends with the intended connector, adjuster, backing and stitching. Hang the representative equipment at short and long settings, then walk, lift and set it down. Check twist, hardware position, seam contact and colour transfer under the agreed damp-contact condition.
Approve the complete left–right strap path, including transitions, attachment hardware and the surface that contacts clothing or skin.
Products to start with
Open a product to see its listed specification. Custom colours, dimensions and order terms are confirmed for your project.

More product photos
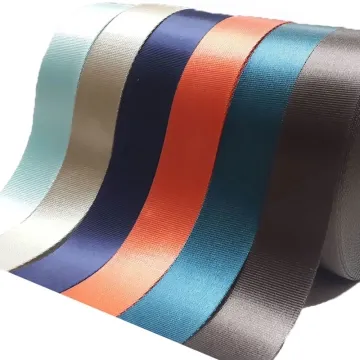
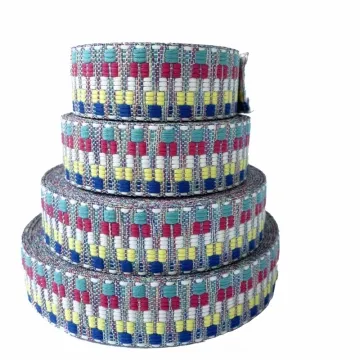
Could the strap mark clothing during humid use?
Test the finished face, edges and backing against representative light and dark fabrics after damp handling. Inspect colour transfer, surface roughening and residue from printing or edge treatments. The result should be recorded for the exact decorated construction, because an undyed base tape does not represent the finished camera strap.
- Transfer onto light and dark companion fabrics
- Backing and edge condition after damp rubbing
Specify the camera-to-shoulder path
Connect carrying geometry, surface orientation and each narrowing point.
Swipe to see all columns ↔
| Field | What to record | How to confirm |
|---|---|---|
| Equipment and use | Representative equipment, carry position and settings | Hang the assembly at agreed settings |
| Shoulder section | Width, backing, edge profile and contact length | Wear the loaded sample over intended clothing |
| Transition joint | Shape, overlap, layers, seam and ridge direction | Build both production-intent transitions |
| Camera connector | Tape or tab dimensions, attachment hardware and threading | Fit the actual connector at both equipment points |
| Face orientation | Artwork face, adjuster route and permissible rotation | Mark faces and photograph the freely hanging strap |
| Damp contact | Moisture, companion fabric and inspection points | Check transfer, residue and roughening after handling |
The buyer defines assembly load and acceptance; loose-webbing values cannot rate the finished strap.
Download specification worksheet ↓Follow the load through both strap ends
Map the carrying path
Draw the shoulder zone, adjuster, transitions and both camera attachments. Mark the intended face and the shortest and longest useful settings.
Build a complete paired sample
Use the proposed webbing, backing, connector pieces, hardware and seams on both ends. Preserve production layer order and edge orientation.
Hang and move the equipment
Suspend the representative equipment, then reproduce walking, lifting and set-down motions at selected settings. Observe twist, adjuster travel and connector alignment.
Inspect contact surfaces
Review neck-facing seams, edges, hardware and companion fabrics after dry and agreed damp handling. Freeze photographs and the marked assembly as references.
Checks that overlook the weakest interface
Using tape strength as a strap rating
The connector, transition seam, adjuster or equipment lug may govern the assembly. Evaluate the complete buyer-designed strap under its agreed programme.
Building only one end
Mirrored attachments can introduce opposite twists or artwork direction errors. Assemble both sides and let the loaded strap hang freely before approval.
Reviewing only a dry flat sample
Flat tape does not reveal neck contact, damp colour transfer or hardware rotation. Inspect the worn assembly under the relevant handling conditions.
Questions before you choose
How wide should a camera strap be for comfort without making the connectors bulky?
Separate the shoulder section from the camera connection. A wider centre can spread contact while narrow end pieces fit the lugs. Prototype the transition and check folded thickness, neck feel, adjustability and how the complete strap carries the intended camera.
Can webbing strength alone determine whether a camera strap is safe?
No. The narrow connector, transition seam, adjuster and attachment hardware can govern the assembly. Define the intended equipment and evaluate the full strap, including sewn joints and wear points. A catalogue value for loose webbing is not a product load rating.
Tell us what you are making
You can enquire before every detail is settled. Tell us the intended use and what you need help choosing; add dimensions or quantities if you know them.
What happens after your enquiry
We review the intended use and open specification questions first. Sample options, costs, minimum quantities and timing can then be discussed against that brief. Sending an enquiry does not place an order.
Request a relevant sample →