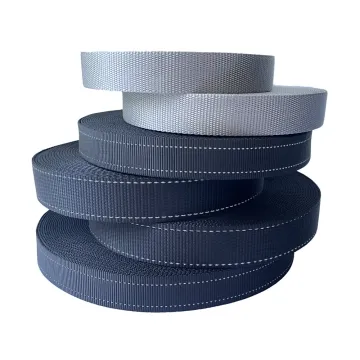
Custom striped webbing
Matching stripes on a bag involves more than colour. Specify each stripe's width and order, then check how the pattern aligns across paired handles and seams.
Content updated
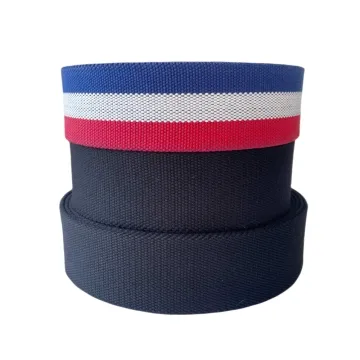
In this guide
Key choices for your project
Treat stripe widths as dimensions, especially when a narrow line identifies the brand. Define left and right edges and the intended face. For paired straps, approve the orientation on the assembled product rather than only on a straight length.
- Width of each stripe
- Edge-to-pattern distance
- Orientation on paired straps
The right stripe colours can still form a mismatched pair of handles
Imagine a bag with two longitudinally striped handles cut from the same roll. Every yarn colour matches the approved card, but one handle is installed with the narrow brand line toward the outside while the other is flipped left to right. An unequal fold allowance hides that narrow line beneath one seam yet leaves it fully visible on the other handle. A straight loose length never revealed the mismatched visible proportions.
Define every stripe as a widthwise dimensioned sequence from one named reference edge, including total finished width, edge-to-stripe distances, intended face and allowable variation. Give each paired piece an explicit face, reference-edge and left-right or mirror rule. Build the real folds, seams and hardware, then compare how much of every stripe remains visible beside adjacent materials. If the design also repeats along the length, control its start and cut phase as an additional requirement.
Approve longitudinal striped webbing by widthwise stripe geometry, named edges, face, paired-piece orientation and visible proportions after final folds and seams.
Measure stripes from a fixed edge datum
Choose one woven edge as the dimensional reference and specify each colour boundary from that datum. Do not recentre the pattern visually during inspection, because small width and edge variations can hide which feature moved. The same measurement rule lets the supplier diagnose a shifted centre stripe without changing every band at once.
- Named reference edge on the colour drawing
- Boundary positions measured from that edge
Review apparent stripe width after folding and sewing
Wrap the tape around the actual attachment and sew the planned margin. A stripe that is balanced on a flat length can appear narrow when one edge rolls under or disappears into the seam. Approve the visible colour proportions on both paired parts in their finished orientation, not only on the roll.
- Visible stripe proportions after edge fold
- Symmetry of paired parts after attachment
Turn a stripe layout into controlled production geometry
The record fixes colours and dimensions across the finished width, then connects reference edges and orientation to folding, pairing and visible windows.
Swipe to see all columns ↔
| Field | What to record | How to confirm |
|---|---|---|
| Stripe sequence | Each colour reference, stripe width, order and tolerance from the named reference edge | Measure approved woven swatch |
| Widthwise boundaries | Finished total width, named left and right edges, edge-to-stripe distances and allowed accumulated width variation | Measure across several roll positions |
| Face and orientation | Intended face, length direction, outside edge and left-right or mirror rule for each product position | Mark arrows on retained tape |
| Piece and cutting rule | Piece code, cut length, reference edge, face and any longitudinal pattern start only when a lengthwise repeat exists | Issue full-size piece layout |
| Assembly placement | Visible window, fold allowances, seams, hardware and required stripe exposure across paired pieces | Build representative product |
| Approval reference | Physical swatch, assembled pair, adjacent materials, lighting, revision, date and approver | Seal signed reference set |
Yarn colours and stripe widths can vary within agreed production limits; the buyer must define tolerances and which widthwise alignment points are visually critical.
Download specification worksheet ↓Control the stripe from reference edge to finished pair
Dimension the colour sequence
Name one edge, list every stripe colour and width across the tape, and define finished total width and intended face.
Set lateral orientation and folds
Assign the reference edge, face, left-right rule and fold allowance for each piece before cutting or sewing paired handles.
Assemble paired product pieces
Sew real handles or straps through folds, seams and hardware, preserving their reference edges and specified visible stripe proportions.
Approve and retain references
Compare the assembly beside product materials, then retain the signed woven swatch, finished pair and controlled layout together.
Stripe approvals that lose alignment in production
Approving colours without dimensions
Correct yarn colours do not control stripe width, order or edge position. Measure the full sequence from a named edge.
Flipping one paired piece
The same longitudinal tape becomes a mirror image when turned over or rotated. Mark face and reference edge for every position.
Judging only straight loose tape
Folds can hide unequal stripe areas and seams interrupt lines. Approve visible proportions on a representative finished product assembly.
Questions before you choose
Should custom stripes be woven into webbing or printed on top?
Choose woven stripes for colour created by yarn placement and printed stripes when the artwork needs effects the weave cannot resolve. Compare both at actual width for edge sharpness, reverse appearance, hand and colour process. Neither method is automatically more durable without testing.
How do I stop stripes from looking off-centre after cutting and folding?
Define stripe widths and centreline relative to the finished tape, then mark fold, seam and cut allowances on the drawing. Make a full strap at intended length. A centred roll pattern can shift visually when unequal edges are hidden in a fold.
Products to start with
Open a product to see its listed specification. Custom colours, dimensions and order terms are confirmed for your project.
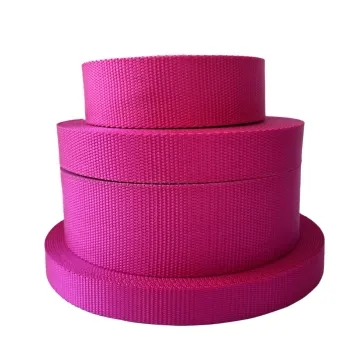
More product photos
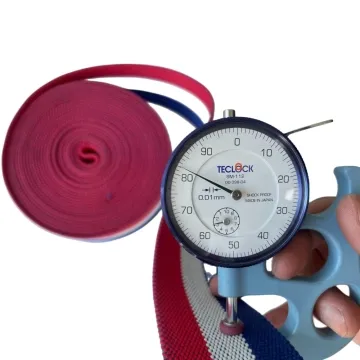
Tell us what you are making
You can enquire before every detail is settled. Tell us the intended use and what you need help choosing; add dimensions or quantities if you know them.
What happens after your enquiry
We review the intended use and open specification questions first. Sample options, costs, minimum quantities and timing can then be discussed against that brief. Sending an enquiry does not place an order.
Request a relevant sample →