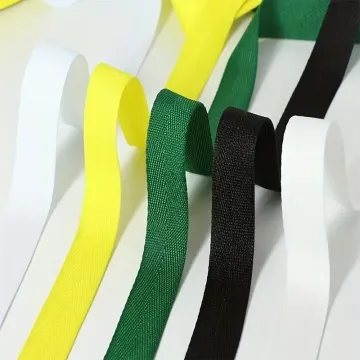
Custom webbing for shoe trim
Shoe trim bends sharply and may contact adhesives or heat. Identify the manufacturing steps so colour, weave and print can be checked after assembly.
Content updated
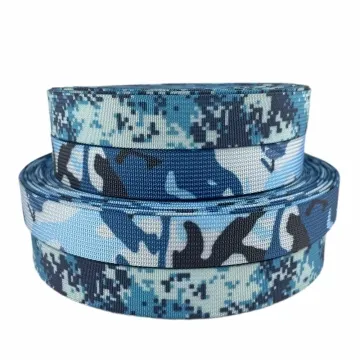
In this guide
Key choices for your project
Distinguish a decorative strip from a pull tab or fastening component. The latter needs an attachment trial, not just appearance approval. Check the webbing through the intended footwear assembly process and inspect the folded edge where it touches the upper.
- Decorative or functional role
- Attachment to the upper
- Appearance after the assembly process
Do left and right shoes show a true mirrored motif?
Place the trim artwork on full-size left and right upper patterns, marking toe direction, cut boundaries and seam cover. A repeated motif may need two cut orientations or a revised anchor to look paired. Approve both assembled shoes together rather than reversing one digital preview without a production cut plan.
- Motif anchor on left and right upper patterns
- Visible pair symmetry after lasting or assembly
A trim approved flat can change after it enters the shoe line
Imagine a patterned tape approved as a loose swatch for a shoe upper. In assembly, one section bends around a collar curve, another sits beneath adhesive, and a folded tail passes through a heated pressing step. The pale base shows through where the weave opens, the print shifts away from the visible centreline, and a hard folded edge marks the upper material.
Classify every piece as decoration, binding, pull tab or fastening support before specifying it. Mark the approved face, pattern start, visible window, allowed cut region and attachment layers on the shoe drawing. Make trials with production upper materials, adhesive, sewing, folding and relevant heat or pressure. Inspect the completed shoe after the defined recovery interval for alignment, edge feel, strike-through, colour change and attachment response.
Approve shoe trim in its final location and process, with its role, visible pattern window, fold geometry and attachment construction defined.
Products to start with
Open a product to see its listed specification. Custom colours, dimensions and order terms are confirmed for your project.
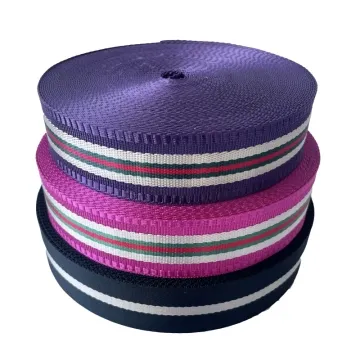
More product photos
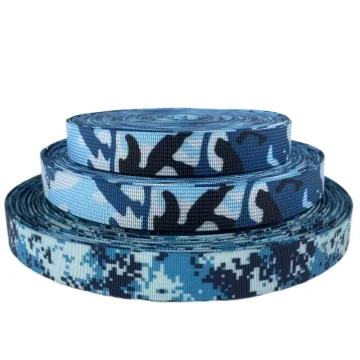
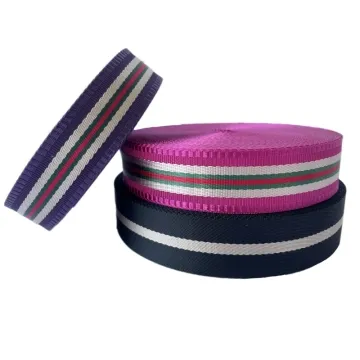
Does adhesive change the visible edge of the trim?
Apply the proposed adhesive quantity and pressure to the exact tape and upper material, then inspect after the buyer's conditioning step. Look for squeeze-out, darkening, edge lift, stiffness and print change beside the bond line. Adhesive compatibility must be established for the selected materials and process, not assumed from another trim.
- Bond-line appearance on light and dark uppers
- Edge lift or stiffness after conditioning
Create a location-specific shoe trim schedule
The schedule prevents one attractive swatch from being applied to decorative and functional positions that have different assembly demands.
Swipe to see all columns ↔
| Field | What to record | How to confirm |
|---|---|---|
| Piece role | Decoration, binding, pull tab or fastening support, plus shoe model and size range | Mark each piece on assembly drawing |
| Webbing construction | Fibre, weave, width, thickness, edge, finish, approved face and sample code | Inspect approved finished tape |
| Artwork and cutting | Pattern repeat, orientation, start point, visible window and permitted cut zone | Overlay full-size cutting layout |
| Attachment build | Upper and lining materials, adhesive, stitch, seam allowance, fold, reinforcement and layer order | Build production-equivalent section |
| Process exposure | Handling, adhesive contact, heat, pressure, forming, cleaning and recovery interval | Run intended assembly sequence |
| Finished inspection | Alignment, exposed width, edge feel, show-through, strike-through, colour and attachment condition | Review completed shoe by location |
A functional pull tab or fastening component requires buyer-defined attachment and product tests beyond visual trim approval.
Download specification worksheet ↓Develop the tape through the real footwear process
Map role and location
Give every trim piece a model, size range, side, approved face, orientation and decorative or functional role before sampling.
Place artwork at full size
Align the repeat with the visible window, folds and stitch lines, then define a permitted cut zone that preserves critical motifs.
Build with production materials
Combine the exact upper, lining, reinforcement, adhesive and thread using intended folding, sewing, pressing and forming operations.
Inspect after recovery
After the agreed interval, compare completed locations for alignment, exposed width, hard edges, show-through, colour change and attachment damage.
Trim approvals that miss footwear assembly effects
Calling every strip decorative
A pull tab or fastening support carries different attachment demands. State each piece’s role before choosing construction and approval evidence.
Approving artwork on a long roll
A centred repeat can land under folds or stitches after cutting. Approve the pattern within the actual visible window.
Testing heat or adhesive alone
Layer order, pressure and sequence change the result. Run the complete intended process on representative upper and lining materials.
Questions before you choose
What should be tested before using decorative webbing on shoes?
Test the tape at the exact bend, abrasion and attachment points of the shoe. Flex it with the upper material and intended adhesive or stitching, then inspect colour transfer, edge lift, cracking and surface wear. A flat trim sample does not represent walking movement.
Should shoe trim webbing be sewn or bonded?
Choose with the upper, tape construction, seam visibility and manufacturing process. Some tapes distort under dense stitching; others may not suit a selected adhesive. Make both joints where practical and flex them after conditioning before selecting the repeatable production method.
Tell us what you are making
You can enquire before every detail is settled. Tell us the intended use and what you need help choosing; add dimensions or quantities if you know them.
What happens after your enquiry
We review the intended use and open specification questions first. Sample options, costs, minimum quantities and timing can then be discussed against that brief. Sending an enquiry does not place an order.
Request a relevant sample →