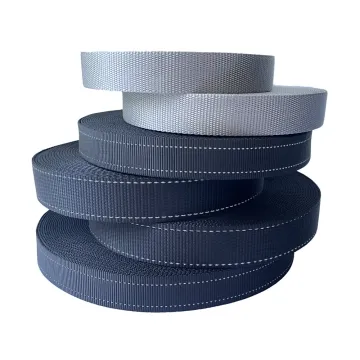
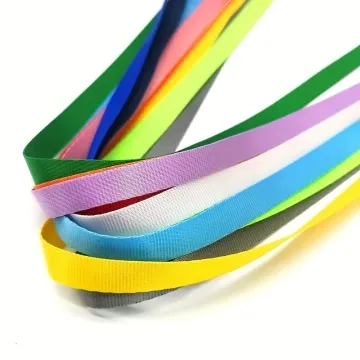
Binding tape for garment production
Garment binding and base fabric must tolerate the same care process. Sew curved and straight trials, then compare shrinkage and puckering after washing.
Content updated
In this guide
Key choices for your project
Match the tape to the fabric and seam location. A firm binding can distort a lightweight garment, while different wash shrinkage may cause puckering. Sew the curved section and any join in the trial, then assess the garment after its intended care cycle.
- Binding stiffness versus fabric
- Curved seam behaviour
- Shrinkage difference after care
Does the binding have a controlled face and feed direction?
Mark face, reverse and roll direction before cutting production trials. Sew identical curves with the tape fed in both orientations and compare edge roll, surface shade and how evenly each side folds. A subtle structural or colour difference can become visible only after the binding turns around a neckline or armhole.
- Approved face and roll-feed direction
- Fold symmetry on inner and outer curves
Binding can sew flat and pucker after garment care
Imagine binding that feeds smoothly on a straight trial. On a tight inner curve, the operator stretches it to cover the edge. After care, tape and shell recover differently and ripple. At the label intersection, the thick stack leaves the underside partly caught.
Mark face and feed direction; sew straight, inner-curve and outer-curve sections with recorded settings. Include the thickest label junction. Record coverage and stitch capture before care, process with the garment method, and compare shape, shrinkage, skin-side profile and shade.
Approve binding on the actual fabric, curves and thickest intersection before and after care, with face, feed direction and seam settings recorded.
Products to start with
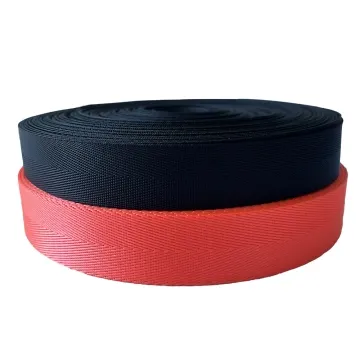
Open a product to see its listed specification. Custom colours, dimensions and order terms are confirmed for your project.
More product photos
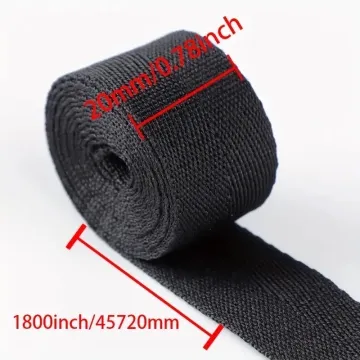
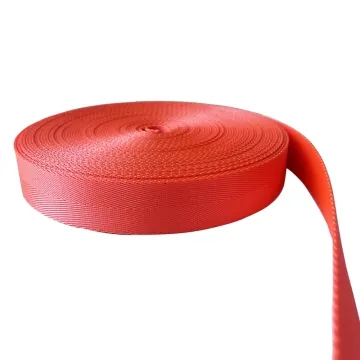
Can garment labels and seam intersections sit without a hard lump?
Build the thickest location where binding meets a garment seam, care label or size tab. Check needle access, underside capture and the feel against skin after turning the edge. If the stack is too bulky, relocate the label or change its insertion rather than thinning an untested portion of binding.
- Layer stack at label and seam intersections
- Skin-side profile and underside stitch capture
Define binding as a fabric-and-seam system
The brief should connect tape behaviour with garment fabric, edge geometry, sewing direction and the intended care process.
Swipe to see all columns ↔
| Field | What to record | How to confirm |
|---|---|---|
| Garment substrate | Fabric layers, stretch direction, thickness, surface and care label method | Use production fabric and precondition |
| Binding construction | Fibre, weave or knit, width, thickness, edge, hand, face and roll direction | Retain a marked tape sample |
| Edge geometry | Straight sections, smallest inner and outer curves, joins and corners | Prepare a representative test pattern |
| Seam setup | Fold, finished coverage, stitch type, needle and thread, feed setting and operator reference | Record the approved machine sheet |
| Intersections | Shell seams, labels, tabs, layer count, underside access and skin contact | Build the thickest junction |
| Care approval | Care sequence, measurement points, puckering, shade, twist and edge exposure | Compare marked panels before and after |
The buyer defines appearance, comfort and dimensional acceptance for the garment. Sample settings are construction-specific and must follow approved production controls.
Download specification worksheet ↓Prove the binding across curves and care
Mark materials and direction
Identify fabric stretch direction, tape face and roll feed, then mark equivalent cut lengths before any sewing trial begins.
Sew a geometry matrix
Bind straight, inner-curve and outer-curve sections in planned directions, recording fold, feeding and seam settings for each result.
Build the thickest junction
Insert the intended label or tab at the heaviest shell seam and inspect top appearance, underside capture and skin-side bulk.
Process and compare
Apply the labelled care sequence, relax the panels, and compare dimensions, puckering, shade, twist and exposed garment edge.
Shortcuts that hide binding failures
Choosing by loose softness
A pleasant loose tape may stretch, roll or fail to cover the edge during sewing. Judge it on the actual smallest curve.
Correcting feed by pulling
Operator tension can make a sample look smooth before care but store unequal extension. Record settings and avoid uncontrolled stretching.
Approving only a straight seam
Curves and label intersections change fold width, underside capture and bulk. Include the most demanding geometry in the retained reference.
Questions before you choose
How soft should binding tape be for a garment edge?
It should fold around the seam without standing away, while retaining enough stability for consistent sewing. Test it on the actual fabric and smallest curve. Check skin feel, edge coverage, stretch mismatch and appearance after the intended care cycle.
How can garment binding avoid puckering after washing?
Match shrinkage and extension of binding to the garment fabric and avoid stretching either component during sewing. Wash a sewn panel using the final care method, then inspect both inner and outer curves. Record tape direction, seam setting and preconditioning used.
Tell us what you are making
You can enquire before every detail is settled. Tell us the intended use and what you need help choosing; add dimensions or quantities if you know them.
What happens after your enquiry
We review the intended use and open specification questions first. Sample options, costs, minimum quantities and timing can then be discussed against that brief. Sending an enquiry does not place an order.
Request a relevant sample →