Garment Hanger Loop Tape Selection
A hanger loop is small, but it sits where labels, collar seams and skin contact compete for space. Its tape must support the garment without creating a hard or twisted detail.
Content updated

In this guide
Key choices for your project
Specify the finished inside loop, attachment location and garment weight together. Sew the chosen tape through the actual label and seam stack, hang the completed garment, then wash it as labelled. Approve comfort, orientation and loop size after the garment has relaxed.
- Hang the finished garment from the loop and inspect the seam and surrounding fabric.
- Check the loop edge against the neck or lining in the garment’s worn position.
- Measure inside loop, twist and shrinkage after the intended wash and drying process.
Location changes the right tape
A light top may use a discreet neck loop; a heavy coat often needs a wider loop anchored into a stronger internal seam. If the loop shares space with a brand label, the stack can become stiff and difficult to feed. Map every layer and keep the usable opening clear rather than selecting tape by garment category alone.
A small neck loop can distort a heavy garment
Imagine one loop pattern for a lightweight top and lined coat. On the top, its edge rubs beyond the label. On the coat, the narrow loop twists when hung and pulls a ridge into the collar seam. Both matched cut length.
Set the inside opening, location and garment condition for each construction. Map label, seam allowance, lining and reinforcement sharing the anchor. Sew the real stack, hang the completed garment as agreed, perform the care process and recheck opening, twist, seam shape and skin contact.
Approve the loop as part of each garment construction, using its finished opening, anchor layers, hanging condition and care history.
Products to start with
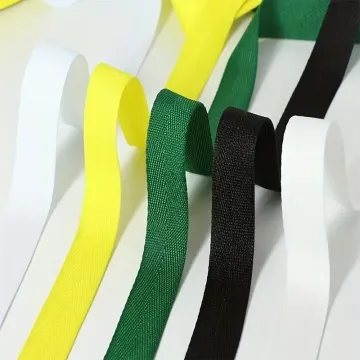
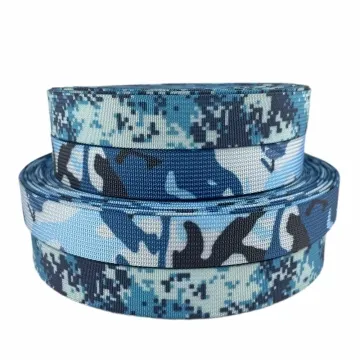
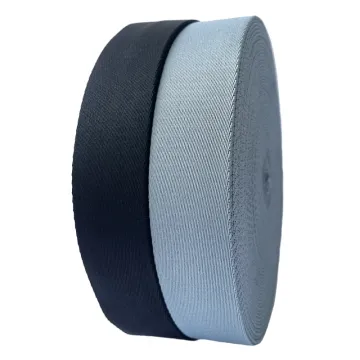
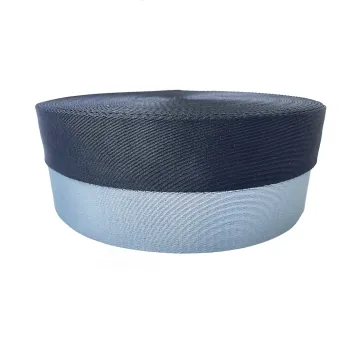
Open a product to see its listed specification. Custom colours, dimensions and order terms are confirmed for your project.
More product photos

Control the finished opening, not only the cut piece
Turn-under, seam allowance and label overlap consume length. A narrow tape may also twist during sewing or after washing, reducing the usable loop. Put the measurement points on the technical drawing and identify the face and direction. A retained sewn sample gives the operator a clearer reference than a loose strip and nominal cut length.
Specify the loop inside the garment assembly
Connect garment condition, usable opening and seam stack so the small component does not rely on a nominal cut length.
Swipe to see all columns ↔
| Field | What to record | How to confirm |
|---|---|---|
| Garment and location | Garment type, representative weight, collar or side location, visibility and skin contact | Review the finished wearing position |
| Finished opening | Inside length and width, measurement points, loop projection and relaxed state | Gauge the sewn garment |
| Tape construction | Fibre, weave, width, thickness, edge, hand, face and direction | Retain an identified tape sample |
| Anchor stack | Shell, lining, reinforcement, labels, seam allowance, stitch zone and insertion depth | Build the full cross-section |
| Hanging evaluation | Hanger or hook interface, garment condition, duration and inspection points | Hang the completed garment |
| Care approval | Care method, drying, relaxation, opening, twist, shrinkage and seam appearance | Compare marked samples before and after |
The buyer defines garment condition, hanging sequence and acceptance. Tape strength alone is not a safe hanging rating for the completed garment.
Download specification worksheet ↓Develop the loop around its shared seam
Map the installation space
Draw tape, label, shell, lining, reinforcement and seam allowance, marking the area available for the usable loop and stitches.
Derive the cut piece
Work backward from the finished inside opening, adding insertion, turn-under and seam consumption while preserving face and direction.
Sew and hang
Build the complete garment stack, hang the representative garment as agreed, and inspect twisting, seam distortion, projection and surrounding fabric.
Process and remeasure
Apply the stated care and drying sequence, relax the garment, then recheck opening, orientation, skin contact and anchor shape.
Shortcuts that misjudge hanger loops
Using one loop for every garment
Garment condition, anchor seam and desired visibility differ. Define the finished opening and attachment for each distinct construction.
Selecting from tape strength
The seam, shell or lining may distort before the tape changes. Hang and inspect the complete garment rather than extrapolating strip data.
Controlling only cut length
Turn-under, label overlap, insertion and care shrinkage change the usable opening. Measure the sewn loop at defined points after processing.
Questions before you choose
Can one hanger-loop size be used for every garment?
It is rarely ideal. Garment weight, hanging point, seam strength and desired visibility differ. Set the finished opening and anchor for each construction, then verify the complete garment rather than scaling only by tape width.
What should I provide for a hanger-loop tape sample?
Provide garment weight, loop location, finished opening, seam cross-section, adjacent labels, colour reference and care method. A small panel using the production layers is more useful than a loose tape swatch.
Tell us what you are making
You can enquire before every detail is settled. Tell us the intended use and what you need help choosing; add dimensions or quantities if you know them.
What happens after your enquiry
We review the intended use and open specification questions first. Sample options, costs, minimum quantities and timing can then be discussed against that brief. Sending an enquiry does not place an order.
Request a relevant sample →