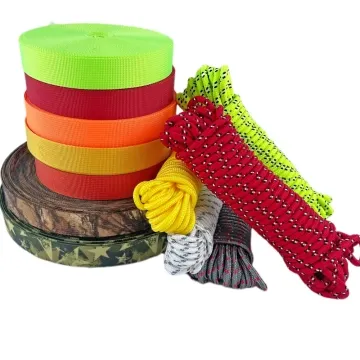
Webbing for Footwear Pull Tabs
A footwear pull tab can be decorative or help the wearer put on the shoe. That distinction changes the loop opening, webbing body, fold stack and connection that must be evaluated.
Content updated
In this guide
Key choices for your project
Start with the finished loop and upper construction, not a preferred cut length. Set usable finger clearance, locate the seam inside the reinforced upper zone and calculate the blank from folds and insertion depth. Approve a pull trial on the complete shoe upper.
- Confirm that the finished loop admits the intended finger or gloved grip without pinching.
- Sew the real layer stack and inspect needle penetration, puckering and damage around the anchor.
- Cycle the assembled tab and record whether change begins in the webbing, seam or upper material.
Separate a visual loop from a functional aid
A decorative heel detail may only need to hold its shape. A functional tab needs enough internal space for grip, while remaining close enough to avoid snagging. Measure the finished inside loop rather than the outside arch. Width, edge feel and stiffness should match the intended pull direction and the wearer’s contact point.
A heel loop can fit the drawing yet pinch the wearer
Imagine a heel tab whose outside arch matches the drawing. After the ends enter the reinforced upper, the usable opening is too small for the grip. Thicker tape crowds the seam and puckers the upper beside the anchor.
Decide whether the tab decorates or assists dressing. Define the finished inside opening and pull direction, then draw insertion and folds. Sew the upper, lining and reinforcement, check access with the intended hand or glove, and operate the tab while observing the anchor.
Approve the finished opening and attachment in the complete shoe construction; outside arch and loose-tape strength do not define a usable pull tab.
Products to start with
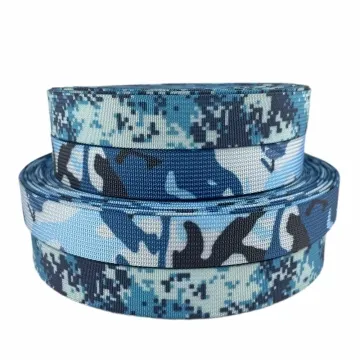
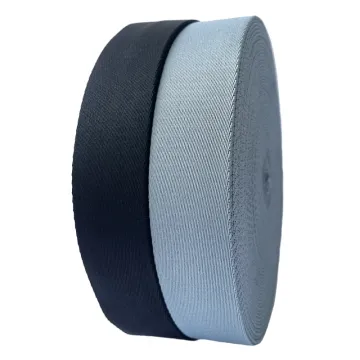
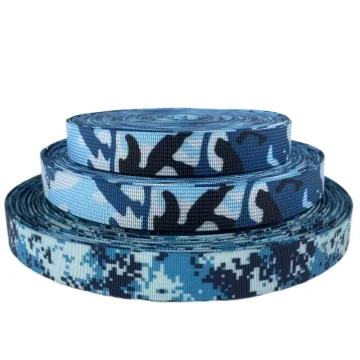
Open a product to see its listed specification. Custom colours, dimensions and order terms are confirmed for your project.
More product photos
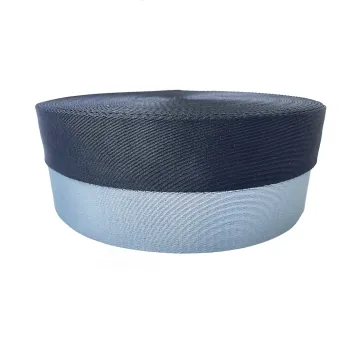
Calculate the cut piece through the seam
Finished loop size is only one part of the blank. Add the hidden insertion, turn-under and any allowance consumed by the upper seam. Thick folds can make sewing inconsistent or concentrate load at the edge of a reinforcement. Build a sectional sample with the actual upper, lining and stitch pattern, then inspect the complete load path.
Specify the loop from grip to upper
Connect grip, finished geometry and hidden seam construction rather than issuing only tape width and cut length.
Swipe to see all columns ↔
| Field | What to record | How to confirm |
|---|---|---|
| Function and location | Role, heel or tongue position, pull direction and wearer contact | Review the shoe use sequence |
| Finished opening | Inside length, clear width, measurement points and relaxed state | Gauge the sewn loop |
| Tape body | Fibre, weave, width, thickness, edge, stiffness, face and direction | Retain an identified tape sample |
| Blank and folds | Cut reference, turn-under, insertion, fold orientation and end treatment | Reconcile with a section drawing |
| Attachment stack | Upper, lining, reinforcement, seam, stitch layout and nearby components | Sew the production layer stack |
| Assembly approval | Grip access, shape, twist, puckering and first change during use | Inspect the completed footwear trial |
The buyer defines users, operation and acceptance. Loose-tape results do not provide a safe pull rating for the footwear assembly.
Download specification worksheet ↓Develop the finished tab through the seam
Define the grip envelope
State whether the tab assists dressing, then mark inside opening, pull direction, contact point and permitted projection on the finished shoe.
Calculate the hidden blank
Add turn-under, insertion and seam consumption to the usable loop, and draw every tape layer through the upper cross-section.
Sew each intended location
Build heel and tongue separately where both are used, with actual upper, lining, reinforcement, stitch pattern and neighbouring parts.
Operate and inspect
Use the completed tab in representative conditions, observing access, twisting, puckering and where change begins in tape, seam or upper.
Shortcuts that misdefine a pull tab
Measuring the outside arch
Tape thickness, folds and seam insertion reduce usable space. Set measurement points for the finished inside opening on the sewn shoe.
Choosing the strongest tape
A stiff or bulky tape can crowd the seam while the upper remains the limiting component. Evaluate the complete load path.
Copying heel details to the tongue
The two locations differ in pull direction, opening and available seam area. Draw and approve each attachment rather than sharing one blank.
Questions before you choose
Can the same pull-tab webbing be used on the heel and tongue?
Possibly, but the openings, pull directions and seam space differ. Approve each location separately with its own loop dimension, fold orientation and upper construction rather than copying one cut length.
Does a strong webbing guarantee a durable shoe pull tab?
No. The upper, reinforcement, stitch layout and load direction may fail first. Test the completed shoe structure and inspect where damage starts; a loose-webbing result cannot certify the finished tab.
Tell us what you are making
You can enquire before every detail is settled. Tell us the intended use and what you need help choosing; add dimensions or quantities if you know them.
What happens after your enquiry
We review the intended use and open specification questions first. Sample options, costs, minimum quantities and timing can then be discussed against that brief. Sending an enquiry does not place an order.
Request a relevant sample →