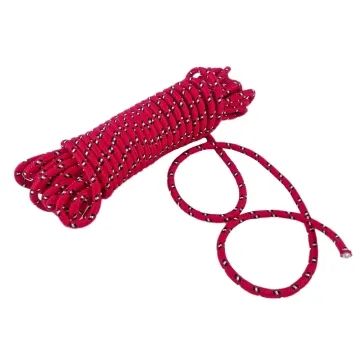
Round rope or flat webbing for leashes
Rope and flat tape distribute pressure differently in the hand. Compare a full handle loop and the intended clip, rather than loose material samples.
Content updated
In this guide
Key choices for your project
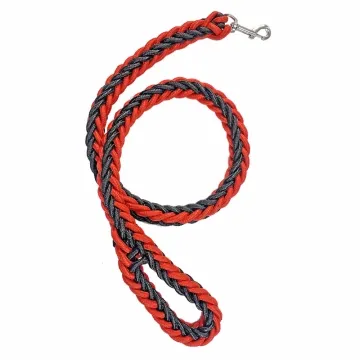
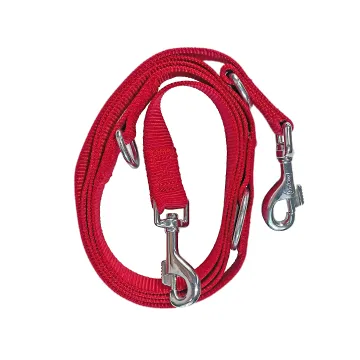
Compare the completed grip and storage behaviour, not just the cross-section. Flat tape folds differently from round rope and may need a wider clip connection. Make both prototypes at the same finished length, then compare wet handling, coiling and the joint at the handle.
- Grip shape under pull
- Storage and tangling
- Connection geometry at each end
Round rope and flat webbing need different assemblies
Choose by contact area, hardware and end construction, not appearance alone. Build both candidates to the intended length and attachment before comparing comfort or handling.
Swipe to see the full comparison ↔
| Assembly issue | Round rope | Flat webbing |
|---|---|---|
| Hand or body contact | Can roll in the hand and concentrates pressure along a narrower contact line; diameter and cover matter. | Spreads load across its width; edge stiffness and folds affect comfort. |
| Hardware | Needs hardware sized for diameter and bend radius; a slot intended for tape may pinch it. | Works with slots and adjusters sized for width and thickness; check slip under load. |
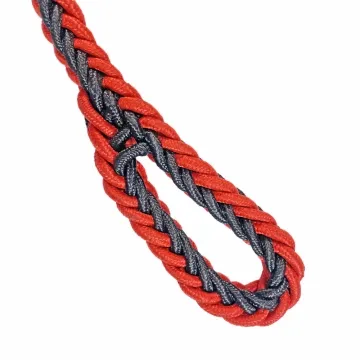
| End construction | Common routes include splice, stitched fold, clamp or moulded end, each needing a pull test. | Usually folded and sewn or riveted; test the layered thickness and seam. |
| Branding | Brand area is smaller and rotates; woven sheath colour or a tag may be more readable. | Provides a broad, stable face for jacquard, print or sewn labels. |
| Final comparison | Test grip, twist, knot or end security on the finished sample. | Test edge pressure, adjuster travel and seam position on the finished sample. |
Do not assign a working load from shape alone. The complete assembly and attachment determine the required test.
The same leash length can behave like two different products
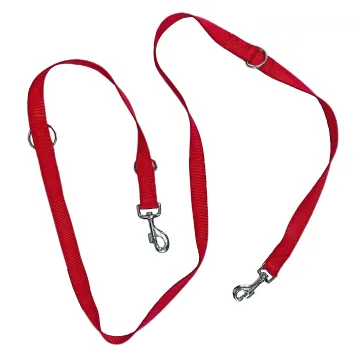
Imagine two leash prototypes with the same finished length and clip. The round rope rolls naturally in the hand and coils into a compact bundle, but its handle splice creates a firm local ridge. The flat webbing spreads pressure across more skin, yet a half-twist at the adjuster presents an edge and the wider folded connection crowds the clip eye.
Build both options with the intended handle, clip, joint and any reflective or decorative layer. Mark orientation at each connection, then compare dry and wet grip, coiling, tangling, dragging contact and movement through hardware. Measure the largest finished connection rather than the loose material alone. Let the buyer judge handling and attachment performance under the product’s defined loads and use sequence before selecting a cross-section.
Choose round rope or flat webbing from the complete leash’s grip, storage, joint geometry, hardware movement and specified performance—not appearance alone.
Which construction is less likely to mark the product surface?
Run completed rope and webbing prototypes across the actual bag panel, garment or coated surface under the same movement. Round rope concentrates contact along a narrower path; flat tape may present edges or a wider rubbing face. Inspect gloss, colour transfer and indentation rather than assuming either shape is gentler.
- Contact mark width and location on the companion surface
- Transfer or gloss after equal movement
Which format keeps branding readable while the product moves?
Place the required logo or tracer on both candidate constructions at finished size. Flex, twist and hang the complete product, then record which portions remain visible and correctly oriented. Flat webbing offers a defined face; rope offers a rotating surface, so artwork expectations should differ rather than be copied directly.
- Readable branded area during normal movement
- Orientation after hanging, twisting and coiling
Compare equivalent finished leash assemblies
A fair comparison holds length and use conditions constant while documenting the geometry and construction unique to each option.
Swipe to see all columns ↔
| Field | What to record | How to confirm |
|---|---|---|
| Material construction | Fibre, braid or weave, core, thickness or axes, finish and sample code | Inspect approved material sample |
| Grip section | Handle shape, contact width, edge presentation, padding and seam or splice position | Compare complete handle loops |
| End connections | Fold, splice, sleeve, stitch pattern, layers, maximum profile and orientation | Measure production-built joints |
| Hardware fit | Clip eye, ring or adjuster dimensions, clearance, rotation and possible twisting | Cycle actual production hardware |
| Handling states | Dry, wet or cleaned state, coiling method, storage volume, tangling and drag contact | Run matched handling sequence |
| Product evidence | Load directions, cycles, acceptance criteria, failure observations and retained sample | Follow buyer’s product test plan |
Cross-section does not determine product safety by itself; the buyer must validate the complete leash, hardware and joints for the intended market and use.
Download specification worksheet ↓Make the choice with matched complete prototypes
Define equivalent builds
Hold finished length, handle opening, clip and intended use constant while recording the construction differences needed by each material.
Resolve each connection
Design folds, splices, sleeves and stitches around the actual hardware, then measure the largest profile and check every required orientation.
Compare handling states
Use the same dry, wet and cleaned sequence to assess grip, edge presentation, coiling, tangling and movement through fittings.
Test the full assemblies
Apply the buyer’s specified load and durability plan to complete identified prototypes and retain observations for the selected construction.
Comparisons that favour the wrong variable
Judging loose samples in one hand
Short swatches omit the handle loop, connection ridge and pull direction. Compare complete prototypes at the same finished length.
Using one joint design for both
A rope splice and folded webbing joint occupy hardware differently. Engineer each connection, then compare the resulting complete assemblies.
Treating wider as automatically comfortable
Contact width matters alongside edge orientation, twist, stiffness and seam position. Evaluate the built handle through the intended handling sequence.
Questions before you choose
Should a handle or leash use round rope or flat webbing?
Round rope and flat webbing distribute contact, twist and connect to hardware differently. Choose from grip, drag, adjustability and the available end connection. Build both at finished length with the same hardware; compare handling rather than only material strength.
Which is easier to sew securely, rope or flat webbing?
Flat webbing usually presents a broad sewing area, while rope often needs a special sleeve, splice, knot or shaped seam. Ease depends on construction and equipment. Develop the complete joint and inspect yarn damage, slippage, bulk and repeatability on the sewing line.
Products to start with
Open a product to see its listed specification. Custom colours, dimensions and order terms are confirmed for your project.
More product photos
Tell us what you are making
You can enquire before every detail is settled. Tell us the intended use and what you need help choosing; add dimensions or quantities if you know them.
What happens after your enquiry
We review the intended use and open specification questions first. Sample options, costs, minimum quantities and timing can then be discussed against that brief. Sending an enquiry does not place an order.
Request a relevant sample →