Webbing selection for pet harness contact zones
A soft hand feel does not by itself establish a comfortable harness. Examine the edges, folded joints and contact-facing seams alongside the webbing, then compare finished samples using the brand’s evaluation process.
Content updated
In this guide
Key choices for your project
Mark the intended contact face and moving areas on the harness drawing. Provide the lining, binding and seam construction used there. Sample alternative edge structures at the same width and finished thickness so the developer can compare meaningful differences without changing the whole design at once.
- Contact-facing side and edge construction
- Position of folds, binding and seams
- Evaluation of dry and conditioned assemblies
Inspect transitions, not just the flat tape
Feel and examine the change from a flat section to a folded joint, cut end or stitched label. A smooth base tape can still produce a bulky or abrasive transition after assembly. Keep the cut-end finish and seam direction consistent between samples, and record where each discontinuity sits on the drawing.
A soft tape can form the hardest contact point after the harness is assembled
Imagine two harness prototypes using the same soft webbing. On one, the broad face lies flat along the chest. On the other, an adjuster forces the edge to roll near the front leg and a folded seam ends inside the moving contact zone. The material description is identical, but the assembled interfaces are not.
Map contact and movement on the harness drawing, including face, edges, seams, labels, bindings and hardware transitions. Build matched panels with the intended finished thickness, condition them for relevant rain or cleaning, and inspect each marked location during the buyer’s fit-and-motion evaluation. Report observations by zone rather than declaring the tape universally comfortable.
Reduce chafe risk by controlling the complete contact interface and its movement, while leaving fit and comfort acceptance to product evaluation.
Products to start with
Open a product to see its listed specification. Custom colours, dimensions and order terms are confirmed for your project.
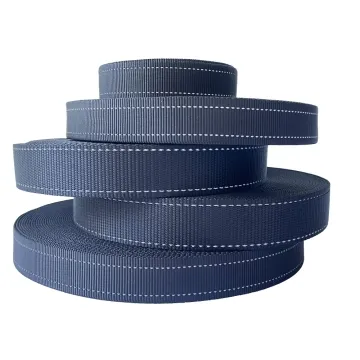
More product photos
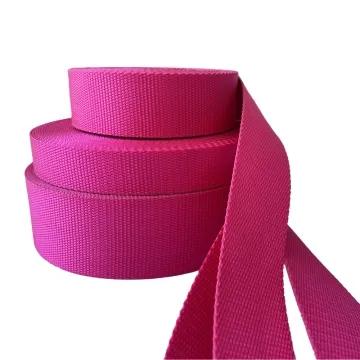

Compare contact samples after relevant exposure
Where washing, rain or dirt are part of the intended use, define suitable sample conditioning with the product developer. Check whether edges stiffen, layers wrinkle or seams become more prominent afterward. Report observations by location rather than calling a whole material comfortable; fit and product geometry also affect the finished result.
Write a contact-zone construction record
The record connects each body-facing location to its actual layers, edge, seam and movement so sample comparisons change one useful variable at a time.
Swipe to see all columns ↔
| Field | What to record | How to confirm |
|---|---|---|
| Contact-zone map | Chest, shoulder, front-leg area, back and adjustment paths | Mark body-facing and moving regions on the harness drawing |
| Webbing orientation | Contact face, edge direction, grain or pattern and sample code | Label every cut part before assembly |
| Finished interface | Webbing, lining, binding, padding and total layer arrangement | Review a labeled cross-section at each transition |
| Seam and trim | Stitch line, seam direction, thread, labels and cut-end position | Inspect the completed inside surface by zone |
| Movement condition | Expected sliding, bending, twisting and hardware migration locations | Observe a fitted prototype through buyer-defined motions |
| Conditioned state | Dry baseline, relevant moisture or cleaning and recovery interval | Condition matched assemblies and compare the same marked zones |
This construction record supports controlled comparison; final harness fit, movement and comfort acceptance belong to the buyer’s complete product assessment.
Download specification worksheet ↓Develop the harness from the body-facing surface outward
Map contact and movement
Mark static pressure, sliding edges, flexing folds and hardware transitions for the intended harness geometry before selecting a softer tape or adding padding.
Build controlled interface variants
Keep pattern and fit geometry fixed where possible, then vary one documented edge, binding, lining or seam construction in coded comparison panels.
Condition the complete harnesses
Apply the relevant dry, damp or cleaned state to matched assemblies, checking for edge stiffening, wrinkles, seam prominence and layer movement.
Evaluate and report by location
Use the buyer’s fit-and-motion process, record observations at every marked zone and feed any problem back to the specific interface construction.
Chafe-reduction assumptions that miss the contact interface
Choosing the softest loose tape
Loose hand-feel does not show edge rolling, seam buildup or adjuster behavior. Compare finished harness interfaces with the same geometry and conditioning.
Covering a rough transition with padding
Padding can end before the problem, migrate or add a bulky ridge. Design and inspect both padding terminations within the complete assembly.
Calling one material chafe-free
Contact depends on fit, movement, care state and every adjoining part. Describe observed zones and conditions instead of making a universal comfort claim.
Questions before you choose
Is the softest webbing always the best harness option?
No. It may fold or roll differently at adjusters and joints. Compare edge feel, shape retention and hardware behaviour together. A soft material descriptor cannot replace evaluation of the complete harness design.
Can adding padding resolve a rough webbing edge?
Padding changes the assembly, but a rough edge or exposed seam may remain. Review how the padding ends, how it is secured and which surfaces face the contact area. Approve the finished sample rather than the padding alone.
Tell us what you are making
You can enquire before every detail is settled. Tell us the intended use and what you need help choosing; add dimensions or quantities if you know them.
What happens after your enquiry
We review the intended use and open specification questions first. Sample options, costs, minimum quantities and timing can then be discussed against that brief. Sending an enquiry does not place an order.
Request a relevant sample →
