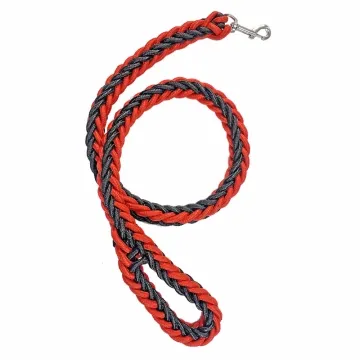
How to Specify a Hoodie Drawcord
A hoodie drawcord specification has to connect the cord, eyelet, casing and end finish. Choosing a diameter from a swatch alone can create drag, bulky knots or uneven finished ends.
Content updated
In this guide
Key choices for your project
Approve the drawcord as a garment component. Run the proposed cord and finished tip through the real eyelet and casing, tie it with the intended knot and wash the assembled sample. Record both the cut length and the visible left-to-right length after sewing.
- Pass the finished tip through the smallest eyelet and the full casing without forcing it.
- Compare knot size, grip and recovery after the cord has been pulled and retied repeatedly.
- Measure both exposed ends from the same garment reference point after washing and relaxation.
Match cord diameter to the complete opening
Eyelet inside diameter is only one limit. A soft braided cord compresses, while a rigid tip may be the largest part that must pass through. The casing seam and fabric bulk can also narrow the path. A practical trial uses the production eyelet, seam allowance and tip, then checks pulling effort without damaging the garment opening.
The cord fits the eyelet but its finished tip does not
Imagine a hoodie drawcord selected from a loose diameter sample. The bare cord passes through the eyelet, but the finished tip catches at the opening and the braided body drags inside the sewn casing. After garment care, the exposed ends differ although both loose pieces were cut equally.
Build the complete path with production fabric, seam allowance, eyelet and finished tip. Mark a garment centre datum, thread the cord without forcing, tie the intended knot and cycle adjustment. Apply the agreed care route, let the garment relax and measure both visible ends from the same datum while checking drag, twist, tip security and opening damage.
Approve the drawcord as a finished garment component, linking cord body, tip, opening, casing, knot and post-care symmetry.
Products to start with
Open a product to see its listed specification. Custom colours, dimensions and order terms are confirmed for your project.
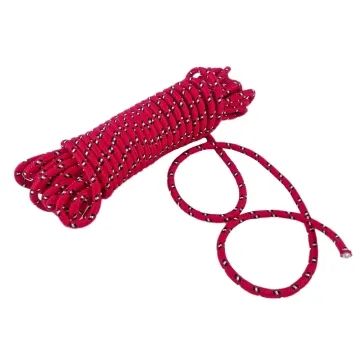
More product photos
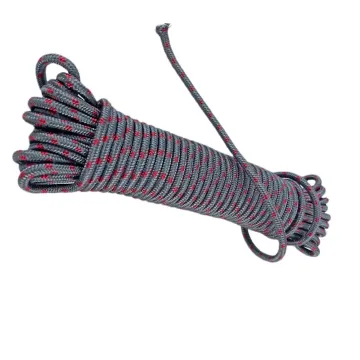
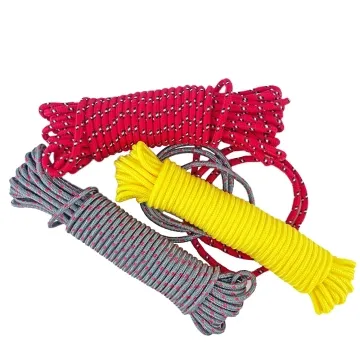
Control hand, tips and finished symmetry
Softness affects drape and skin contact, but very low body can make threading and knot release awkward. Specify the tip material, length and attachment separately from the cord. Because cutting, tipping, sewing and washing can shift length, define the measurement points and tolerance on the finished garment rather than relying only on loose-piece length.
Define the entire threaded component
Control each part affecting passage, handling, visible length and appearance after care.
Swipe to see all columns ↔
| Field | What to record | How to confirm |
|---|---|---|
| Cord body | Construction, diameter, hand, colour, direction, lot and sample code | Keep a marked cord standard |
| Opening path | Eyelet inside shape, casing seam, seam allowance, fabric bulk and route length | Use the sewn production path |
| Cord end | Tip material, attachment, finished diameter and length, plus knot or stopper | Pass the finished end through the opening |
| Length definition | Cut length, centre datum, visible measurement points and left-right rule | Measure on the assembled garment |
| Care and use | Wash and dry route, adjustment, knotting and relaxation state | Run the complete garment sequence |
| Finished review | Pulling effort, drag, twist, tip security, opening damage and exposed-end symmetry | Compare both ends after relaxation |
Cord diameter alone cannot establish fit because the least compressible tip, casing seam and garment bulk may control passage.
Download specification worksheet ↓Thread, operate and care for the actual garment path
Prepare the complete opening
Sew the casing with production fabric and seam allowance, install the intended eyelet and record its finished condition.
Finish and mark the cord
Attach the tips, mark the midpoint and reference positions, and record relaxed loose length.
Thread and operate
Pass the finished tip without forcing, tie the intended knot and cycle adjustment through the full casing.
Care and remeasure
Apply the agreed garment care, relax flat, then measure visible ends and inspect drag, twist, tips and openings.
Shortcuts that create drawcord mismatch
Sizing from bare cord only
The rigid tip or thick casing seam may control passage. Test the finished end through the complete sewn opening.
Judging equal cut pieces
Assembly and care can shift visible length. Measure both exposed ends from one garment datum after relaxation.
Pulling a tight sample through
Force can damage an eyelet, tip or fabric and hides poor fit. Reject binding instead of enlarging it by use.
Questions before you choose
Should the tip or the cord determine the eyelet size?
Check both, but the largest and least compressible section usually controls threading. Trial the finished tip through the actual eyelet, then pull the cord through the sewn casing to find friction elsewhere.
What should I send when requesting hoodie drawcord samples?
Send the fabric or casing construction, actual eyelet, target cord diameter, colour reference, desired hand, tip style and garment wash method. Add the finished visible length and where it will be measured.
Tell us what you are making
You can enquire before every detail is settled. Tell us the intended use and what you need help choosing; add dimensions or quantities if you know them.
What happens after your enquiry
We review the intended use and open specification questions first. Sample options, costs, minimum quantities and timing can then be discussed against that brief. Sending an enquiry does not place an order.
Request a relevant sample →