Custom drawcords for bags
A drawcord must run through channels and hold in its stopper. Test both ends, the seam crossing and repeated opening on the actual bag fabric.
Content updated
In this guide
Key choices for your project
Trial the cord through the actual channel, eyelets and cord lock together. A cord that slides freely through fabric may jam at a thick end or slip in the lock. Check the closed bag and the fully open position before fixing the cut length.
- Channel and eyelet clearance
- Retention in the cord lock
- End length with the bag fully open
Where does the channel create a hidden choke point?
Measure the finished channel at seam allowances, label joins and folded corners, not only along its open centre. Pull a marked cord through the complete route and locate each increase in effort or cover scuff. A nominally wide casing can narrow sharply where internal fabric stacks are concealed.
- Finished channel clearance at every seam crossing
- Cord scuff or effort increase at marked locations
The narrowest point controls the whole drawcord route
Imagine a drawstring bag that works smoothly before lining assembly. In the finished bag, a seam allowance narrows the channel, one eyelet rubs the cover and a bulky end cannot return through the cord lock. After settling, one exposed end is longer and the fully open position has too little handling length.
Trace both cord legs through every channel crossing, eyelet, lock and terminal. Mark cut length, hidden allowance and exposed lengths in fully open and buyer-defined closed states, then repeat the motion with the intended fabric gathered and contents in place.
Approve diameter, length and end treatment as one routed system, using the smallest clearance and both end states.
Products to start with
Open a product to see its listed specification. Custom colours, dimensions and order terms are confirmed for your project.
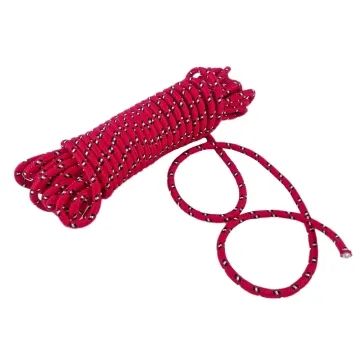
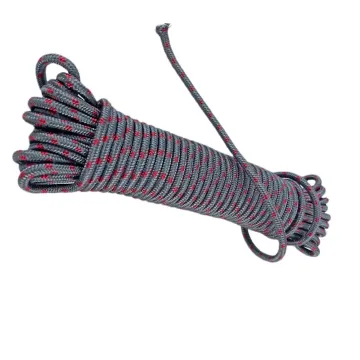
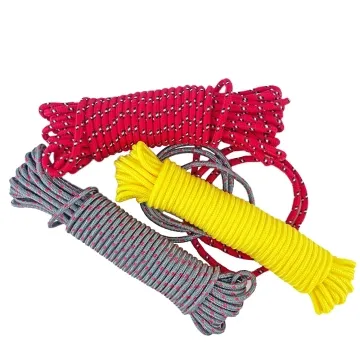
More product photos
Do paired drawcord ends finish evenly when the bag closes?
Close the bag from a centred starting position and compare both exposed ends after the cord has settled through the channel. Unequal friction, off-centre cord locks or asymmetric seam paths can leave one end longer. Approve finished exposed lengths and stop positions, not just one common cut length.
- Difference between exposed ends in the closed bag
- Cord-lock or stop position relative to bag centre
Specify the complete route, not a nominal cord diameter
The RFQ should connect cord construction to every restriction, lock and finished length state.
Swipe to see all columns ↔
| Field | What to record | How to confirm |
|---|---|---|
| Finished cord | Construction, relaxed section, cover, hand and colour | Measure a coded sample without stretching |
| Channel route | Clearance at seams, labels, folds, corners and openings | Pull a marked cord through the casing |
| Hardware | Eyelet/lock model, opening, contact shape and orientation | Retain parts and photograph threading |
| End treatment | Knot, cap, fold or terminal, maximum section and hidden allowance | Pass production-style ends through every required opening |
| Length states | Cut length, internal path and exposed ends, open/closed | Dimension both states on the finished-bag drawing |
| Use condition | Gathered fabric, contents, relevant moisture, care and operation | Run the defined handling sequence on an assembled bag |
The smallest finished restriction and thickest completed end govern the route.
Download specification worksheet ↓Prove the cord from end to end
Map every restriction
Open the channel drawing and mark seam crossings, eyelets, lock passages and terminals. Measure finished clearances instead of relying on pattern allowances.
Build both production ends
Prepare knots, caps or other terminals with their hidden allowance. Confirm that the maximum section can follow every required assembly step.
Set length from two states
Mark the cord, close the bag from a centred start, then open it fully. Record internal travel and both exposed ends after settling.
Repeat the handling route
Operate the filled, gathered assembly through the agreed sequence. Inspect cover scuff, local resistance, lock holding and end position before freezing the reference.
Shortcuts that create cord jams or uneven ends
Sizing from the open channel
A generous casing can narrow at a label or seam crossing. Find the smallest finished clearance and include the thickest end that must pass.
Cutting length from one position
A closed-bag loop does not reveal handling allowance when fully open. Record cut, hidden and exposed dimensions in both defined states.
Testing the lock on loose cord
The casing changes entry angle and tension on paired legs. Check the lock within the assembled route and inspect whether either side settles differently.
Questions before you choose
How do I choose drawcord diameter for a bag closure?
Start with the smallest opening in the eyelet, channel and cord lock, then include the thicker finished end. The cord must move without snagging but still be easy to grip. Test it in the complete bag with the channel gathered and loaded.
How much drawcord length should be added for knots and end stops?
Calculate the visible loop, travel through the channel, knot or stop allowance and the length hidden inside each terminal. Make the largest opening and fully closed positions. Record cut length and finished exposed length separately so production does not omit the end allowance.
Tell us what you are making
You can enquire before every detail is settled. Tell us the intended use and what you need help choosing; add dimensions or quantities if you know them.
What happens after your enquiry
We review the intended use and open specification questions first. Sample options, costs, minimum quantities and timing can then be discussed against that brief. Sending an enquiry does not place an order.
Request a relevant sample →