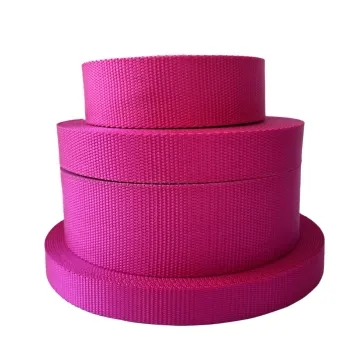
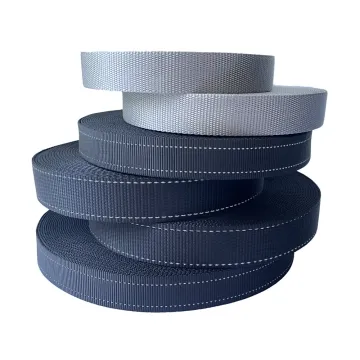
Herringbone webbing for bags and trim
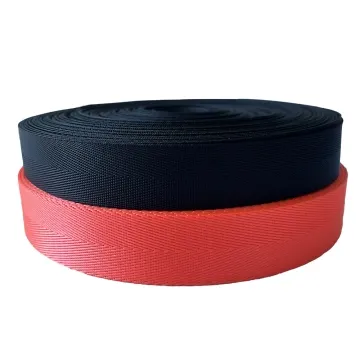
The V-shaped weave affects the visible finish and fold line. Compare herringbone samples around your bag edge or through the adjuster, keeping the direction consistent.
Content updated
In this guide
Key choices for your project
The chevron direction is part of the design. Decide whether paired handles should mirror each other and whether the pattern must continue across joins. On curved binding, trial the tightest bend because a neat straight sample does not show puckering.
- Chevron direction on paired parts
- Pattern alignment across joins
- Puckering at the smallest curve
A matched pair can reverse the chevron at assembly
Imagine two herringbone handles cut to the same length. Their V pattern points toward the bag on one side but away on the other, and the join on one handle lands beside a visible corner. The tape dimensions are correct, yet the finished pair looks mismatched.
Mark roll direction, face, motif centre and intended finished orientation before cutting. Lay left and right templates over consecutive tape, choose the permitted join and cut intervals, then sew the tightest curve with the actual panel stack. Compare chevron drift, edge lift, seam capture and mirror relationship after the assembly rests.
Approve herringbone tape with a directional cut plan and a paired-part sewing trial, including every visible join and curved edge.
Check whether sewing pulls the chevron sideways
Run a production-style seam along both edges of a marked sample and compare the centre line before and after sewing. Diagonal yarn paths can make a small feeding imbalance easy to see as the chevrons drift toward one edge. Adjust guiding or seam order on the component trial, not by trimming the woven edge afterward.
- Chevron centre line before and after sewing
- Edge-to-seam distance along the finished part
Plan visible joins as part of the cut list
If a long binding or handle needs a join, show its permitted zone and direction on the cutting sheet. Meet identical points of the chevron where practical and keep the overlap away from tight curves or hardware. Approve the joined thickness in the actual seam stack before issuing production lengths.
- Permitted join zone marked on the cut plan
- Joined thickness at the complete seam stack
Record pattern direction and assembly behaviour
The record should connect the chevron, cut origin, paired-part orientation, join placement and sewn geometry.
Swipe to see all columns ↔
| Field | What to record | How to confirm |
|---|---|---|
| Tape reference | Construction, width, shade, face, roll direction, lot and sample code | Keep a direction-marked roll sample |
| Pattern datum | Chevron centre, V direction and reference edge | Overlay the approved marked sample |
| Cut layout | Part orientation, cut interval, mirror rule and permitted joins | Lay out left and right templates |
| Sewn path | Curve radius, panel stack, seam allowance, feed direction and stitch line | Build the tightest representative section |
| Finished review | Pattern drift, puckering, edge lift, join thickness and paired appearance | Compare rested assemblies together |
| Change triggers | Tape construction, width, pattern scale, seam stack or feed method | Repeat the affected comparison |
Herringbone appearance depends on direction and assembly. A straight loose swatch cannot approve mirrored parts, corners or curved binding.
Download specification worksheet ↓Carry the chevron datum from roll to finished pair
Mark the roll reference
Identify face, roll direction, centre line and one chevron apex on the proposed tape before any pieces are cut.
Plan paired cuts
Place left and right templates in finished orientation, mark permissible joins and preserve the agreed mirror or matching rule.
Sew the limiting geometry
Use production panels, seam stack and feed direction to sew the smallest curve and the thickest visible join.
Rest and compare
Lay paired parts without tension, then inspect chevron drift, puckering, edge lift, seam position and join prominence.
Shortcuts that disturb a directional weave
Calling both faces equivalent
Turning one piece over can reverse the chevron or surface. Name the face and finished orientation on the cut plan.
Approving only a straight strip
Straight tape hides feeding drift and curve puckering. Sew the tightest representative path before approving the construction.
Trimming after sewing
Edge trimming can unbalance the chevron and remove woven stability. Correct guiding or feed on a new full-width specimen.
Questions before you choose
Is herringbone webbing a good choice for binding curved bag edges?
The herringbone pattern can provide a soft, distinctive tape, but it is not automatically as conformable as bias-cut binding. Test the chosen width around the smallest curve with the real panel stack. Look for puckering, edge lift and pattern distortion before approval.
How do I keep herringbone direction consistent on matching bag parts?
Mark the chevron direction on the drawing and on cut-part instructions. Lay left and right components together before sewing, including joins and folded ends. A tape can look correct on the roll yet reverse direction when one part is turned during assembly.
Products to start with
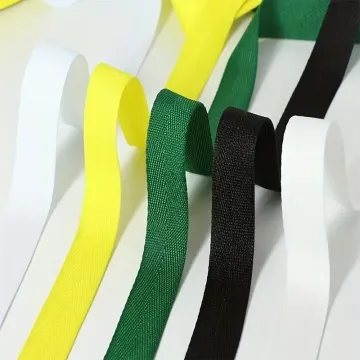
Open a product to see its listed specification. Custom colours, dimensions and order terms are confirmed for your project.
More product photos
Tell us what you are making
You can enquire before every detail is settled. Tell us the intended use and what you need help choosing; add dimensions or quantities if you know them.
What happens after your enquiry
We review the intended use and open specification questions first. Sample options, costs, minimum quantities and timing can then be discussed against that brief. Sending an enquiry does not place an order.
Request a relevant sample →