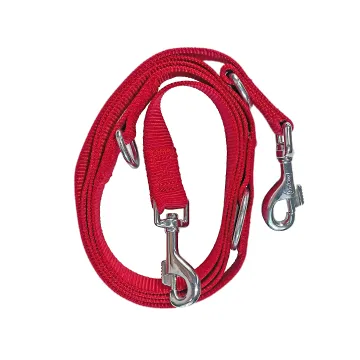
Reflective webbing for dog collars
Reflective details can disappear behind buckles or folded ends. Evaluate visibility on the assembled collar from several directions and after the planned cleaning process.
Content updated
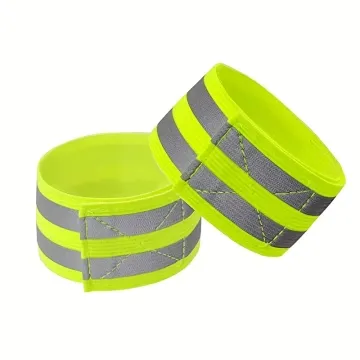
In this guide
Key choices for your project
Show where the reflective element sits around the finished collar. Buckles, folded ends and a long coat can conceal it. Examine the collar from several angles after adjustment; a bright photograph of a straight strip does not establish visibility in use.
- Reflective element around the circumference
- Areas covered by hardware
- Condition after bending and cleaning
Do stitches and folds interrupt the intended reflective path?
Overlay the stitch plan, cut points, buckle folds and label positions on the reflective layout. Assemble the smallest and largest collars, then identify every interruption around the circumference. Shift the element or seam where practical; do not infer finished-product visibility from an uninterrupted straight tape sample.
- Reflective interruptions on critical finished sizes
- Stitch or fold position relative to the reflective element
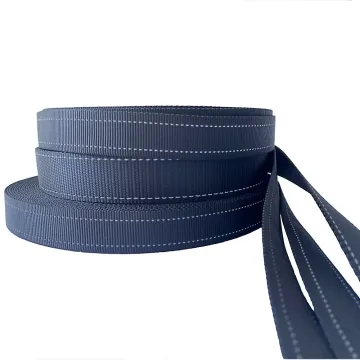
A bright straight swatch can leave most of the finished collar’s reflective path hidden
Imagine a reflective strip that looks continuous when photographed flat. On the smallest collar, the buckle fold and keeper overlap much of one repeat; on the largest, the adjustment path places a plain section at the outward side. A long coat and normal collar rotation further change what can be seen.
Overlay reflective layout, cut points, stitches, folds, label, buckle and adjustment range on the collar drawing. Assemble smallest and largest sizes, rotate them under a buyer-defined observation setup, then repeat after representative dust, moisture and cleaning. Record interruptions, surface masking and damage without promising a universal distance.
Evaluate the reflective element around each finished collar size and condition, not as an uninterrupted flat tape.
Products to start with
Open a product to see its listed specification. Custom colours, dimensions and order terms are confirmed for your project.
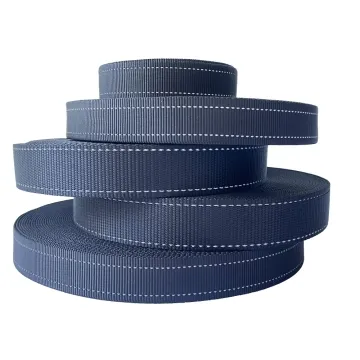
More product photos
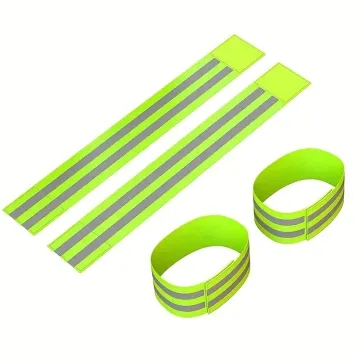
How does contamination change the observed response?
Inspect the assembled collar under the buyer's defined observation setup before and after representative dust, moisture and cleaning. Record surface masking, creases and damage separately from viewing angle. This comparison supports product development but does not establish compliance with a visibility standard or a universal distance claim.
- Observed condition before and after contamination
- Creases or surface damage on reflective areas
Map the reflective path onto the complete collar
The record connects element placement to sizing, hardware, assembly, observation and care without implying a standard claim.
Swipe to see all columns ↔
| Field | What to record | How to confirm |
|---|---|---|
| Reflective construction | Element type, width, pitch, face, base tape and sample code | Inspect retained tape under agreed setup |
| Size geometry | Finished range, cut length, overlap and adjustment route | Build smallest and largest collars |
| Interruption map | Buckles, keepers, folds, seams, label and plain zones | Overlay full-scale assembly drawing |
| Observation setup | Light source, observer position, collar rotation and background | Photograph all agreed orientations consistently |
| Exposure and care | Dust, wetting, cleaner, action, drying and repeat sequence | Treat matched finished collars |
| Change record | Masking, crease, surface loss, damage and location | Compare marked zones with unexposed control |
Visibility acceptance and any standards claim belong to the buyer’s defined product evaluation; this layout record alone proves neither.
Download specification worksheet ↓Follow the reflective path through every collar size
Place the element on the circumference
Map element pitch and visible zones around the finished collar, including cut start, overlap, buckle fold, keeper and label.
Build boundary sizes
Assemble the smallest and largest settings with production hardware and seams, then mark every interruption and outward-facing section.
Observe from controlled orientations
Rotate completed collars through agreed positions using the same light, viewer and background, recording coverage separately from brightness impression.
Repeat after representative care
Apply defined dust, moisture, cleaning and drying, then inspect masking, creases and damage at the same marked collar zones.
Reflective-collar conclusions the sample cannot support
Approving from one flash photograph
Camera settings and a favourable angle hide interruptions. Use a fixed observation setup and rotate the complete adjusted collar.
Ignoring smallest-size overlap
Extra return, buckle and keeper can cover the element at short settings. Build the actual lower size boundary.
Turning development observations into distance claims
A visual comparison does not establish universal visibility or compliance. Keep wording within the buyer-defined method and verified evidence.
Questions before you choose
Does reflective webbing make a dog collar visible from every direction?
Not automatically. Buckles, adjustment folds, tags and fur can cover reflective areas, and visibility depends on viewing geometry and condition. Build the collar at each critical size and inspect it from multiple directions after adjustment, bending and intended cleaning.
How much reflective area should a dog collar have?
There is no universal percentage for every product. Define the visibility objective, collar size range and where hardware interrupts the tape. Place reflective elements around the finished circumference, then evaluate the complete collar under the chosen observation conditions rather than a straight strip.
Tell us what you are making
You can enquire before every detail is settled. Tell us the intended use and what you need help choosing; add dimensions or quantities if you know them.
What happens after your enquiry
We review the intended use and open specification questions first. Sample options, costs, minimum quantities and timing can then be discussed against that brief. Sending an enquiry does not place an order.
Request a relevant sample →