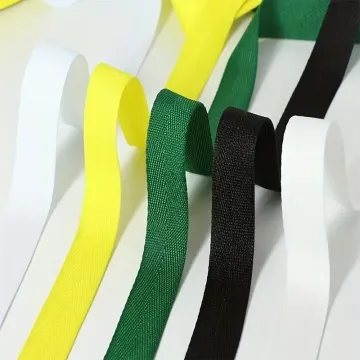
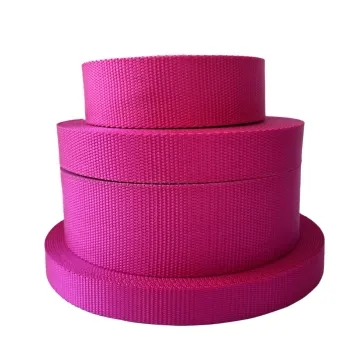
Webbing thickness and buckle fit
Two layers can exceed a buckle's clearance even when one layer fits. Test the complete fold, seam and tail through the actual hardware.
Content updated

In this guide
Key choices for your project
Thickness measured under pressure may differ from the space a folded strap occupies. Build the real tape path through the buckle, including doubled sections and stitching. Check both threading effort and hold under the intended load; a simple pass-through test is incomplete.
- Measurement pressure
- Number of layers at the bar
- Threading and loaded retention
Measure every thickness the buckle will actually see
A buckle may accept one flat layer but jam at a folded return or slip where the tape becomes thinner. Measure the complete tape path and test the real buckle before freezing the specification.
Swipe to see the full comparison ↔
| Location to check | What to measure | Why it changes buckle fit |
|---|---|---|
| Single running layer | Relaxed tape thickness and edge build at several points | Controls basic slot clearance and friction through the adjuster. |
| Folded return | Two tape layers plus any finish at the cut edge | May be too thick to pass back through a narrow slot. |
| Sewn overlap | Layer stack, thread build and seam compression | A seam can catch on the buckle or stop adjustment early. |
| Coated or printed zone | Maximum local thickness, surface grip and stiffness | Decoration or coating can change both clearance and sliding resistance. |
| Loaded assembly | Slip, tilt and edge damage at the intended load and tape angle | Static hand feeding does not prove holding performance. |
Nominal width alone cannot confirm buckle compatibility. Approve the tape, hardware and threading path as one assembly.
One layer passes the buckle, but the sewn return jams
Imagine selecting webbing after one flat layer passes through the adjuster. In the finished strap, its doubled return and seam will not travel around the centre bar. A softer, thinner trial threads easily, then compresses under repeated load and slips. Neither check represented the assembly.
Identify the exact hardware and build the complete tape path with production-intent webbing, folds, seam and tail. Measure relaxed and compressed thickness, observe threading and adjustment effort, then cycle holding, release and readjustment. Inspect recovery and wear before approving the combination.
Approve webbing and buckle as a working stack and path, because nominal thickness alone cannot predict feeding, compression, recovery or holding.
Test the complete layer stack dynamically
Thread the exact number of tape layers, seams and folded ends through the buckle, then adjust them under representative tension. Record feed force, holding movement and any edge wear. A thickness reading on one flat layer cannot predict a compressed stack moving around a bar.
- Layer stack at the buckle
- Feed and hold after repeated adjustment
Measure compression and recovery
Measure the tape before loading, while held in the hardware and again after a defined rest. Compare permanent flattening with surface recovery and renewed buckle grip. This reveals whether a soft construction packs down enough to slip even though its initial thickness matched the drawing.
- Thickness under hardware pressure
- Recovery and grip after resting
Record a buckle-fit combination
Connect hardware geometry to the complete layered tape path.
Swipe to see all columns ↔
| Field | Record | Confirm |
|---|---|---|
| Hardware identity | Model, revision, material, slot and bar geometry | Use controlled drawing and physical part |
| Webbing state | Construction, width, relaxed thickness, conditioning and face | Measure identified sample |
| Layer stack | Single, doubled, folded and sewn zones with seam position | Mark cross-section and assembly |
| Threading path | Entry side, face, wraps, tail direction and adjustment range | Photograph each routed stage |
| Dynamic behaviour | Threading effort, adjustment, holding movement and edge contact | Cycle under defined load sequence |
| Compression recovery | Thickness under hardware, after rest, wear and renewed grip | Measure labeled assembly over time |
Acceptance loads, cycle counts and dimensional limits are project-defined. A buckle drawing and one flat thickness reading do not replace testing the complete assembly.
Download specification worksheet ↓Prove fit through the full adjustment cycle
Freeze the hardware reference
Record the exact buckle model and revision, measure critical openings and retain a labeled part. Similar-looking hardware may have different bar geometry.
Map every tape layer
Draw the path through each slot and identify single, double, folded and stitched zones. Include the tail and its thickest transition.
Build production-intent assemblies
Use the planned webbing, end finish, seam, thread and stitch placement. Measure relaxed and compressed regions without assuming one pressure represents service.
Cycle feed, hold and recovery
Thread, adjust, load, release and readjust in the intended direction. Record creep, effort, edge damage, permanent flattening and grip after rest.
Three incomplete buckle-fit checks
Compare slot width with tape width
Width does not show bar clearance, wraps, folds or seam bulk. Follow the full path and inspect every thick transition.
Use one flat thickness value
Measurement pressure and compression change the occupied space. Record relaxed, constrained and recovered states for the actual layered construction.
Stop after the tape threads once
A pass-through check misses adjustment force, creep and wear. Repeat loading and readjustment, then inspect holding after the tape has recovered.
Questions before you choose
Why does webbing thickness matter if the buckle opening is wide enough?
A tape can enter the slot yet slip, jam or resist adjustment because thickness controls friction and stacked bulk. Consider coatings and folded layers as well as a single thickness. Thread the intended route and test adjustment, holding and release after use.
How should webbing thickness be specified for buckle fit?
Agree on the gauge, measuring pressure and conditioning because compressible tape gives different readings. Record both single-layer thickness and the maximum stack passing through the buckle. Keep the approved tape-and-buckle assembly as the practical fit reference.
Products to start with
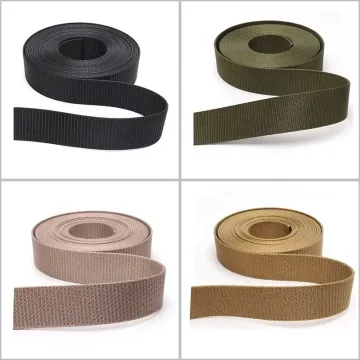
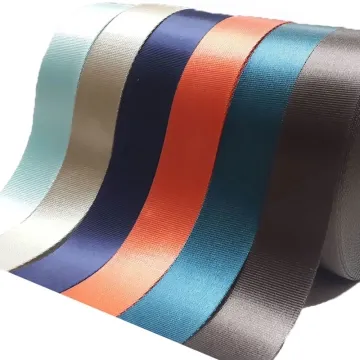
Open a product to see its listed specification. Custom colours, dimensions and order terms are confirmed for your project.

More product photos
Tell us what you are making
You can enquire before every detail is settled. Tell us the intended use and what you need help choosing; add dimensions or quantities if you know them.
What happens after your enquiry
We review the intended use and open specification questions first. Sample options, costs, minimum quantities and timing can then be discussed against that brief. Sending an enquiry does not place an order.
Request a relevant sample →