How to Select Needle and Thread for Sewing Webbing
There is no useful needle number without the machine, thread, point style, webbing and layer stack. A setup that penetrates one tape cleanly can skip, heat or cut yarns in another.
Content updated

In this guide
Key choices for your project
Start with the production machine and complete layer stack, then trial a small matrix of compatible needles, threads, stitch lengths and presser-foot settings. Select the smallest combination that forms a stable stitch without deflection, skipped stitches, thread damage, heat marks or excessive perforation. Validate seam performance on the assembled product.
- Record machine class, needle system, point, size and thread ticket.
- Use the same webbing lot, layers, speed and stitch path.
- Inspect top, underside, needle holes and yarn damage after sewing.
A clean single-layer seam fails at the folded transition
Imagine a strap that sews cleanly through one layer. At the folded return, the foot climbs onto four layers, the needle deflects, stitches skip and a glazed mark appears near penetrations. Recommending a larger needle without the machine, thread and stack could worsen yarn damage.
Document the production machine and hardest layer transition, then trial a compatible matrix of needle, thread, stitch length, tension, foot pressure and speed. Change one variable at a time and inspect both faces, holes and yarns before selecting a stable combination that avoids the observed damage.
Approve a complete sewing setup on the actual layer stack, then validate the connection separately for its required product performance.
Begin with the machine and stack
List the webbing fiber, thickness, density, coating, number of folded layers and any shell or reinforcement. Then confirm the machine's needle system and feeding method. A needle recommendation from a different machine or a single layer is not transferable. Include the hardest transition where the foot climbs onto or leaves the full stack.
Read the sewing symptoms
Needle deflection can move the seam or strike a part. Skipped stitches suggest loop formation, timing or penetration problems. Frayed thread may indicate needle eye, tension, heat or abrasion. Melt marks on synthetic webbing point to frictional heat, while large holes or broken yarns suggest excessive needle damage. Change one variable at a time.
Control stitch density and repeat the trial
Very dense stitching can perforate a narrow strip instead of strengthening it. Mark the test length, speed, tensions, foot pressure and stitch count, then retain a labeled sewn coupon. Repeat on material from the intended lot and after any coating or finish change. The setup confirms sewability only; connection strength requires a separate final-assembly test plan.
Record a reproducible sewing trial
Tie every sewn coupon to machine, materials, settings and symptoms.
Swipe to see all columns ↔
| Field | Record | Confirm |
|---|---|---|
| Layer stack | Webbing code, lot, fibre, coating, fold count and adjacent materials | Photograph the hardest transition |
| Machine and feed | Machine class, needle system, feed type and foot | Verify installed equipment |
| Needle | System, size, point style and condition | Retain package reference |
| Thread | Fibre, construction, ticket and top/bobbin pairing | Match cones to coupon ID |
| Settings | Stitch length, tension, foot pressure, speed and path | Read machine and count stitches |
| Result | Stitch formation, deflection, skipped stitches, heat, holes and yarn damage | Inspect top, underside and opened section |
The trial confirms sewability of this setup. Buyer-defined connection performance must be assessed on the complete assembly with its intended loading and use.
Download specification worksheet ↓Select needle and thread through controlled trials
Define the worst stack
List every material layer and identify the climb, fold or seam intersection most likely to deflect the needle or disturb feeding.
Set a safe trial matrix
Use machine guidance to choose compatible needle systems, points, sizes and threads. Add controlled stitch length, tension, foot pressure and speed values.
Sew and read each symptom
Run labeled coupons while changing one variable at a time. Inspect stitch formation, thread abrasion, holes, melted areas, broken yarns and seam position.
Repeat and release the setup
Confirm the selected combination on intended-lot material and full transitions. Retain a coupon and settings record, and reopen trials after finish or coating changes.
Three shortcuts that hide sewing damage
Choose a needle from “heavy webbing” alone
Machine system, point, thread, density, coating and stack all affect penetration. Use the actual equipment and construction to define the trial range.
Change needle, thread and tension together
A better seam then has no attributable cause and cannot be recovered reliably. Change one recorded variable at a time across labeled coupons.
Treat clean stitches as proof of connection strength
Good stitch formation shows sewability, not finished-product capacity. Validate the complete seam geometry and assembly under the buyer’s separate performance plan.
Questions before you choose
What needle size should I use for heavy webbing?
A fixed size cannot be chosen from “heavy” alone. Machine system, thread, point, coating, density and layer stack all matter. Use machine guidance to set a safe trial range, then inspect sewn coupons.
Why does synthetic webbing melt around the needle?
Repeated penetration, high speed, friction, a blunt or unsuitable needle and excessive density can build heat. Compare controlled settings and inspect both yarn damage and stitch formation carefully before production.
Products to start with
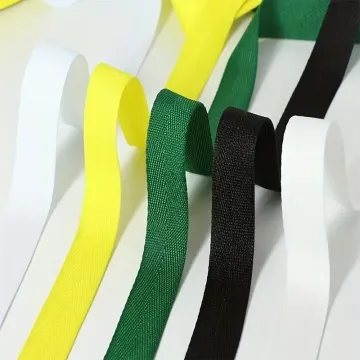
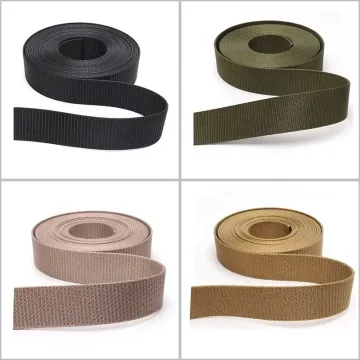
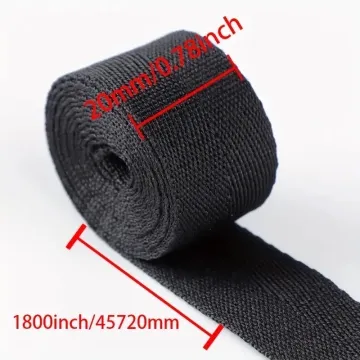
Open a product to see its listed specification. Custom colours, dimensions and order terms are confirmed for your project.
More product photos
Tell us what you are making
You can enquire before every detail is settled. Tell us the intended use and what you need help choosing; add dimensions or quantities if you know them.
What happens after your enquiry
We review the intended use and open specification questions first. Sample options, costs, minimum quantities and timing can then be discussed against that brief. Sending an enquiry does not place an order.
Request a relevant sample →