Box-X Stitch or Bar Tack for a Webbing Joint?
Box-X and bar-tack stitches distribute thread through different shapes. Neither has a universal strength advantage because webbing, thread, needle, stitch density, overlap and load direction act as one joint.
Content updated

In this guide
Key choices for your project
Choose candidate stitch patterns from the available sewing area and expected load path, then build specimens with the exact webbing, thread, needle, layers and machine settings. Pull them in the same direction as the product and record where failure begins. Any safety or load-bearing joint requires buyer-defined requirements and testing of the complete sewn assembly.
- Draw the applied load direction across the proposed stitch field.
- Keep overlap, layers, thread, needle and settings controlled.
- Record first damage, failure location and peak result separately.
The higher peak can still be the poorer joint
Imagine Box-X and bar-tack samples reaching similar peak forces. The Box-X starts cutting the panel beside its long edge, while the compact bar tack damages yarns where needle penetrations overlap. Reporting only the final number would hide different redesign paths.
Start from the assembly load path and hold tape, panel, thread, needle, folds and clamp positions constant. Record first visible damage, stitch growth, slippage and final failure location. Then select the pattern that fits the sewing field and buyer-defined acceptance sequence.
Choose the joint from controlled assembly evidence and failure behaviour, not from the stitch-pattern name or a peak value alone.
Compare the stitch geometry
A box-X spreads stitches around a rectangular field with diagonal paths, using more length and requiring room near the edges. A bar tack concentrates repeated stitches in a narrow band and can fit a compact connection. Either pattern can perforate or cut the webbing when stitches are too dense, the needle is unsuitable or the seam sits near an unstable end.
Build a representative joint specimen
Use production webbing from the intended direction, the real folded layer count and any shell or reinforcement caught in the seam. Hold overlap and stitch placement constant when comparing patterns. Condition specimens consistently and grip them so the load enters as it will in use, without an artificial clamp edge becoming the first failure point.
Read the failure, not only the peak
Note whether thread breaks, stitches pull out, webbing tears along needle holes, yarns slip, the fold opens or hardware damages the strap. Two joints with similar peak force may fail very differently and offer different process warning signs. Keep photographs and the failed specimen. Final acceptance criteria, sample size and safety factor belong to the buyer's engineering plan.
Make the comparison reproducible
Fix materials, geometry and observations around both candidate layouts.
Swipe to see all columns ↔
| Field | What to record | How to confirm |
|---|---|---|
| Joint duty | Load direction, reversals, peel or shear tendency | Mark force arrows and restricted zones on the drawing |
| Material stack | Tape, panel, backing, folds, coatings and layers | Use the same conditioned lot and lay-up for both |
| Stitch geometry | Pattern dimensions, rows, orientation and edge distances | Provide the program or a scaled stitch map |
| Sewing inputs | Thread, needle, machine setting and reinforcement | Record the production-intent setup for each set |
| Grip and free length | Clamp faces, spacing, alignment and tail allowance | Photograph each mounted specimen before testing |
| Acceptance evidence | First damage, seam movement, peak, failure mode and location | Use one illustrated results sheet with buyer-defined limits |
Neither layout is universally stronger; approve a specific joint and test method.
Download specification worksheet ↓Compare joint layouts without changing the question
Trace the load path
Mark how force enters the tape, crosses the sewing field and leaves through the panel or second tape. Note space, fold and edge constraints.
Build a controlled pair
Use matched tape, panel, thread, needle, layer stack and operator setup. Change only the documented stitch layout and prepare enough traceable specimens.
Observe through the agreed sequence
Condition and clamp specimens consistently, then record first damage, thread breaks, hole growth, tape slip and final failure during the selected loading sequence.
Select and freeze the joint
Compare failure locations with product risks and sewing space. Retain the program, marked sample, setup record and acceptance sheet for production reference.
Comparison errors that invalidate the answer
Choosing from the stitch name
“Box-X” and “bar tack” cover many sizes and stitch settings. Define the actual programmed geometry before attributing performance to either family.
Changing several variables together
Different thread, layer count or edge distance can drive the result. Hold the material stack and sewing inputs constant for a useful layout comparison.
Recording only maximum force
A high peak can follow harmful panel tearing, hole growth or progressive slip. Record first damage and failure location alongside the final value.
Questions before you choose
Is a box-X stitch stronger than a bar tack?
It cannot be answered from the stitch name. Available area, load direction, overlap, webbing, thread, needle and machine settings determine the joint. Test both candidate assemblies under the intended loading.
Can more stitches make the webbing joint weaker?
Yes. Excessive needle holes can create a tear line or damage yarns, especially in a dense narrow field. Optimize stitch placement through representative samples rather than adding stitch density automatically.
Products to start with
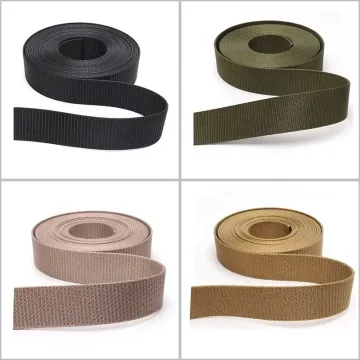
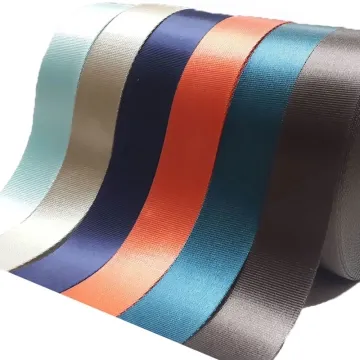
Open a product to see its listed specification. Custom colours, dimensions and order terms are confirmed for your project.

More product photos
Tell us what you are making
You can enquire before every detail is settled. Tell us the intended use and what you need help choosing; add dimensions or quantities if you know them.
What happens after your enquiry
We review the intended use and open specification questions first. Sample options, costs, minimum quantities and timing can then be discussed against that brief. Sending an enquiry does not place an order.
Request a relevant sample →