UHMWPE blend webbing specifications
A UHMWPE-labelled strap may contain other fibres. Identify the load-carrying yarns, blend and finished construction before comparing strength results or sewing behaviour.
Content updated
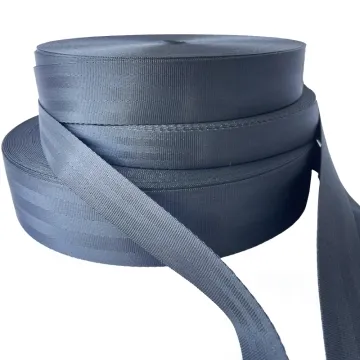
In this guide
Key choices for your project
A blended construction may use different fibres in different directions. Ask where the UHMWPE sits, what the remaining yarns are and how the edge is formed. Evaluate the final seam and cut end as carefully as the woven strip.
- Fibre distribution in the construction
- Cut-end stability
- Seam performance of the blend
The same declared blend ratio can hide a different yarn layout
Imagine two webbing trials carrying the same declared UHMWPE proportion. Their widths and colours match, but the supplier has arranged the yarn systems differently. Both produce encouraging strip results; after sewing the intended folded end, one assembly shows yarn movement beside the seam before the buyer’s required endpoint. Comparing the percentage or peak value alone misses the change.
Request a construction map that identifies the relevant longitudinal, transverse and edge yarn systems, their references and proportion basis. Make matched joints using documented cutting and sewing settings. Mark tape and seam reference points separately, observe movement through the agreed sequence and inspect the opened joint. Retain the selected yarn layout, process and assembly evidence together.
Approve the blend as a controlled yarn arrangement and finished joint, with movement observations linked to the exact construction rather than a material name or percentage.
Design the end treatment for the actual blend
Do not carry one cutting or sealing setting across every blended construction. Make production-style cut ends, folds and punched or sewn areas, then inspect whether individual yarn systems retreat, spread or remain contained. Choose the termination method from that specimen and record it with the approved construction, rather than with the UHMWPE name alone.
- Yarn containment at the treated cut end
- Layer movement inside the folded termination
Judge movement before the ultimate break
A high peak result can still hide extension or local damage that changes how the product works. Define where the strap may bend, how much movement the assembly can accept and which failure location matters. Review the load-extension record and the tested specimen together, then keep loose-tape and assembled-component results clearly separated.
- Assembly movement before the required endpoint
- Recorded failure location on the tested specimen
Connect fibre distribution to assembly evidence
The record must distinguish the supplied yarn systems, their positions and the process used to make the finished connection.
Swipe to see all columns ↔
| Field | What to record | How to confirm |
|---|---|---|
| Construction map | Longitudinal, transverse and edge yarn systems, faces and relevant layer arrangement | Supplier marks a section or weave diagram |
| Material references | Declared fibres, offered yarn/grade references, proportions and calculation basis | Match current supplier documentation |
| Sample baseline | Item, revision, lot, width, thickness, finish and preparation state | Measure identified matched specimens |
| Joint process | Cut method, settings, fold, overlap, needle, thread, stitch and machine speed | Preserve numbered production-intent joints |
| Movement evidence | Tape and seam datums, load/time sequence, displacement, recovery and first observed change | Record assembly and strip results separately |
| Release control | Approved layout, process record, evidence scope and change-notification triggers | Reconcile sample and order references |
Yarn-grade data does not rate a woven blend or finished connection. The buyer defines the relevant loads, durations, environments and acceptance criteria.
Download specification worksheet ↓Verify the yarn layout through the finished joint
Identify each functional yarn system
Obtain a construction map and current material references, clarifying which yarns run lengthwise, crosswise and at the edges and how proportions are reported.
Make controlled joint samples
Use the intended cut and sewn geometry under documented trial conditions, changing one setting at a time and retaining an untreated strip control. Record any material-supplier handling limits separately.
Observe movement at separate datums
Mark the tape and seam, run the agreed load and time sequence and record displacement, recovery and the first visible change without confusing locations.
Inspect and freeze the complete build
Open representative joints to inspect yarn containment and damage, then retain the selected layout, process settings and evidence under one production revision.
Blend comparisons that hide the working construction
Treat equal percentages as identical tapes
The same proportion can occupy different yarn positions and structures. Ask for the layout and compare the actual finished constructions.
Select from the highest strip result
A peak value does not describe joint movement, recovery or failure location. Review the complete agreed sequence and assembled specimen.
Copy cutting settings from another blend
Different yarn systems and finishes may respond differently. Trial the exact construction using documented settings and applicable material-handling limits, then record the approved end treatment.
Questions before you choose
Why use a UHMWPE blend instead of making the whole webbing from UHMWPE?
A blend can place UHMWPE yarn where its low mass, low friction or high specific strength is useful while other yarns support weaving, colour, hand or sewing. The benefit depends on yarn position and proportion, so request the construction rather than assuming every blend behaves alike.
What should a UHMWPE-blended webbing specification include?
State each fibre and its proportion, where the UHMWPE yarn sits, finished width and thickness, edge construction and intended joint. Then test the exact build for cutting, folding, sewing and hardware fit. Do not transfer a strength value from a yarn datasheet to the finished strap.
Products to start with
Open a product to see its listed specification. Custom colours, dimensions and order terms are confirmed for your project.
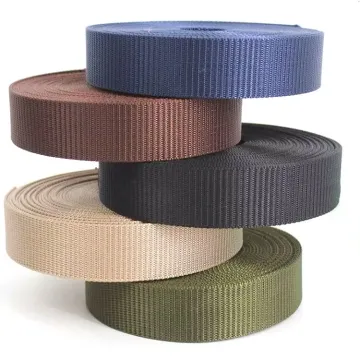
More product photos
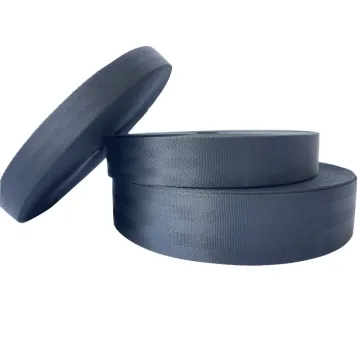
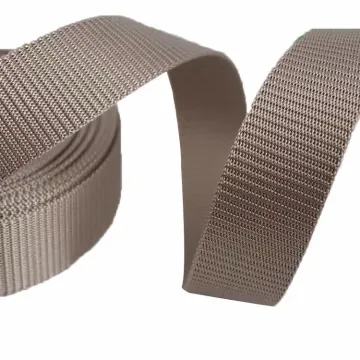
Tell us what you are making
You can enquire before every detail is settled. Tell us the intended use and what you need help choosing; add dimensions or quantities if you know them.
What happens after your enquiry
We review the intended use and open specification questions first. Sample options, costs, minimum quantities and timing can then be discussed against that brief. Sending an enquiry does not place an order.
Request a relevant sample →
